Baked French Toast

I have always loved to wake before anyone else in the family is up. There is something about getting up in a quiet house and having even just a few minutes to stand at the bench or sit in my favourite chair, often just staring out the window while I wake up enough to make my coffee. No questions, complaints or arguments.

Just me, my thoughts and my warm coffee cup.

I have started doing it again lately, as we have all been 1000% together 1000% of the time. Oh the joys – and the constant-ness of constant company.

Sound familiar? I think what started as a feeling of ‘Yay, everything’s cancelled, let’s bunker down and have lots of QUALITY TIME TOGETHER’ has turned into a daily battle of choosing to keep ‘bearing with one another in love’ as the days together turn into weeks and months, with little connection from others or change in scenery.

So it was in the stillness and quiet of last Sunday morning, coffee in hand, that I popped this beauty in the oven. I love any recipe that can be prepared in advance, and this one is all the better for a night in the fridge – bread soaking and flavours developing as I sleep.

I love this recipe as it has no added sugar other than the small amount for sprinkling across the top and the maple syrup on the base of the dish. There are many versions of this recipe out there, and most contain unnecessary cups of added sugar!

You will be pleased to know I had a whole hour to myself reading and drinking coffee in the quiet while the family was sleeping and this deliciousness was baking away in the oven. I think it was the smell of it baking that got most of them out of bed in the end.

Baked French Toast

Serves 4-6

Recipe adapted from Bills Basics, by Bill Granger

Ingredients

  • 4 eggs
  • 1/2 cup cream (use milk if you don’t have cream)
  • 2 1/2 cups milk
  • 2 teaspoons vanilla extract
  • 1/4 cup maple syrup
  • 8-10 slices of day old bread – I used a loaf of fruit sourdough, but you can literally use anything, even old bits and bobs of bread from the freezer.
  • a handful of fresh or frozen raspberries, optional (or any berries you have on hand)
  • butter for greasing
  • Demarara Sugar (or raw) for sprinkling

Method

  • Grease a medium size rectangle baking dish with butter
  • Pour maple syrup on base of dish
  • Lay slices of bread in dish, over lapping the slices slightly to fit it all in. Keeping the crusts on and having some pieces not submerged makes for a crunchy topping and yummy texture.
  • Whisk together eggs, cream, milk and vanilla and pour evenly into the dish.
  • Scatter with berries if using.
  • Cover and place in the fridge overnight.
  • When ready to bake, remove cover and sprinkle with sugar. Demarara gives it a crunchy caramel finish, raw sugar is a perfectly fine substitute.
  • Bake at 180 degrees celsius for 50-60 minutes, or until golden on top and custard is set.
  • You can either eat it warm or at room temperature, on it’s own, or with your yoghurt of choice, creme fraiche or thickened cream.

Rocky Road (and what Celebration means to me)

I am a celebrations person. 

There is no denying it and the older I get, the more I want to embrace celebrating everything. 

Birthdays, anniversaries, milestones, Friday night, Hump Day, going on holidays, coming home from holidays, the start of a new season, the end of a season, new friends, old friends, a new season of my favourite TV show, public holidays, a new house, the end of a job, graduations….I could go on. Do you get the picture? 

A few months back, I decided to light a candelabra and put it in the middle of the dinner table, that had been set with my favourite grey and white striped place mats. 

“What are we celebrating?” my middle son said as he came to sit down. 

“The fact that it’s Thursday and we are all home for dinner at the same time.” I said.

This past year we have celebrated many special birthdays of family and friends. 40, 50 and 70th’s and some milestone anniversaries. They have all looked different, but one constant has been the presence of champagne and tears at them all.

Champagne and Tears.

The good and the bad, the bitter and the sweet. 

When I talk about celebrating, I am not Pollyanna, declaring everything is happy, perfect and sparkly, clinking glasses with a big fake smile. 

Celebrating to me, is often the defiant stance of remembering, pausing and giving thanks for something or someone inspite of our circumstances, the difficulty or cost. 

This brings me to December and I am declaring this the month of Celebration. 

I am challenging myself to keep my celebrating spirit alive, despite my weariness and a to-do-list that feels unattainable and sends me into a mild panic from time to time. 

As surely as the sun rises each morning, Christmas comes to us in December each year. Not to overwhelm us and send us into a state of chaos and exhaustion, but indeed to remind us to pause and remember and give thanks. 

For every event and get together that keeps the calendar full, I celebrate the gift of relationships and the family and friends who do life with us. 

For every gift purchased, wrapped and given, we get to say thank you to a teacher, coach, neighbour, minister or friend who has enriched our lives this year. 

And for me, surpassing all of those wonderful things, I get to crank the music loud and with arms raised high sing 

JOY TO THE WORLD, The Lord Has Come!

There is no greater reason to celebrate in all the world, than the fact that Jesus came. For me. And for you.

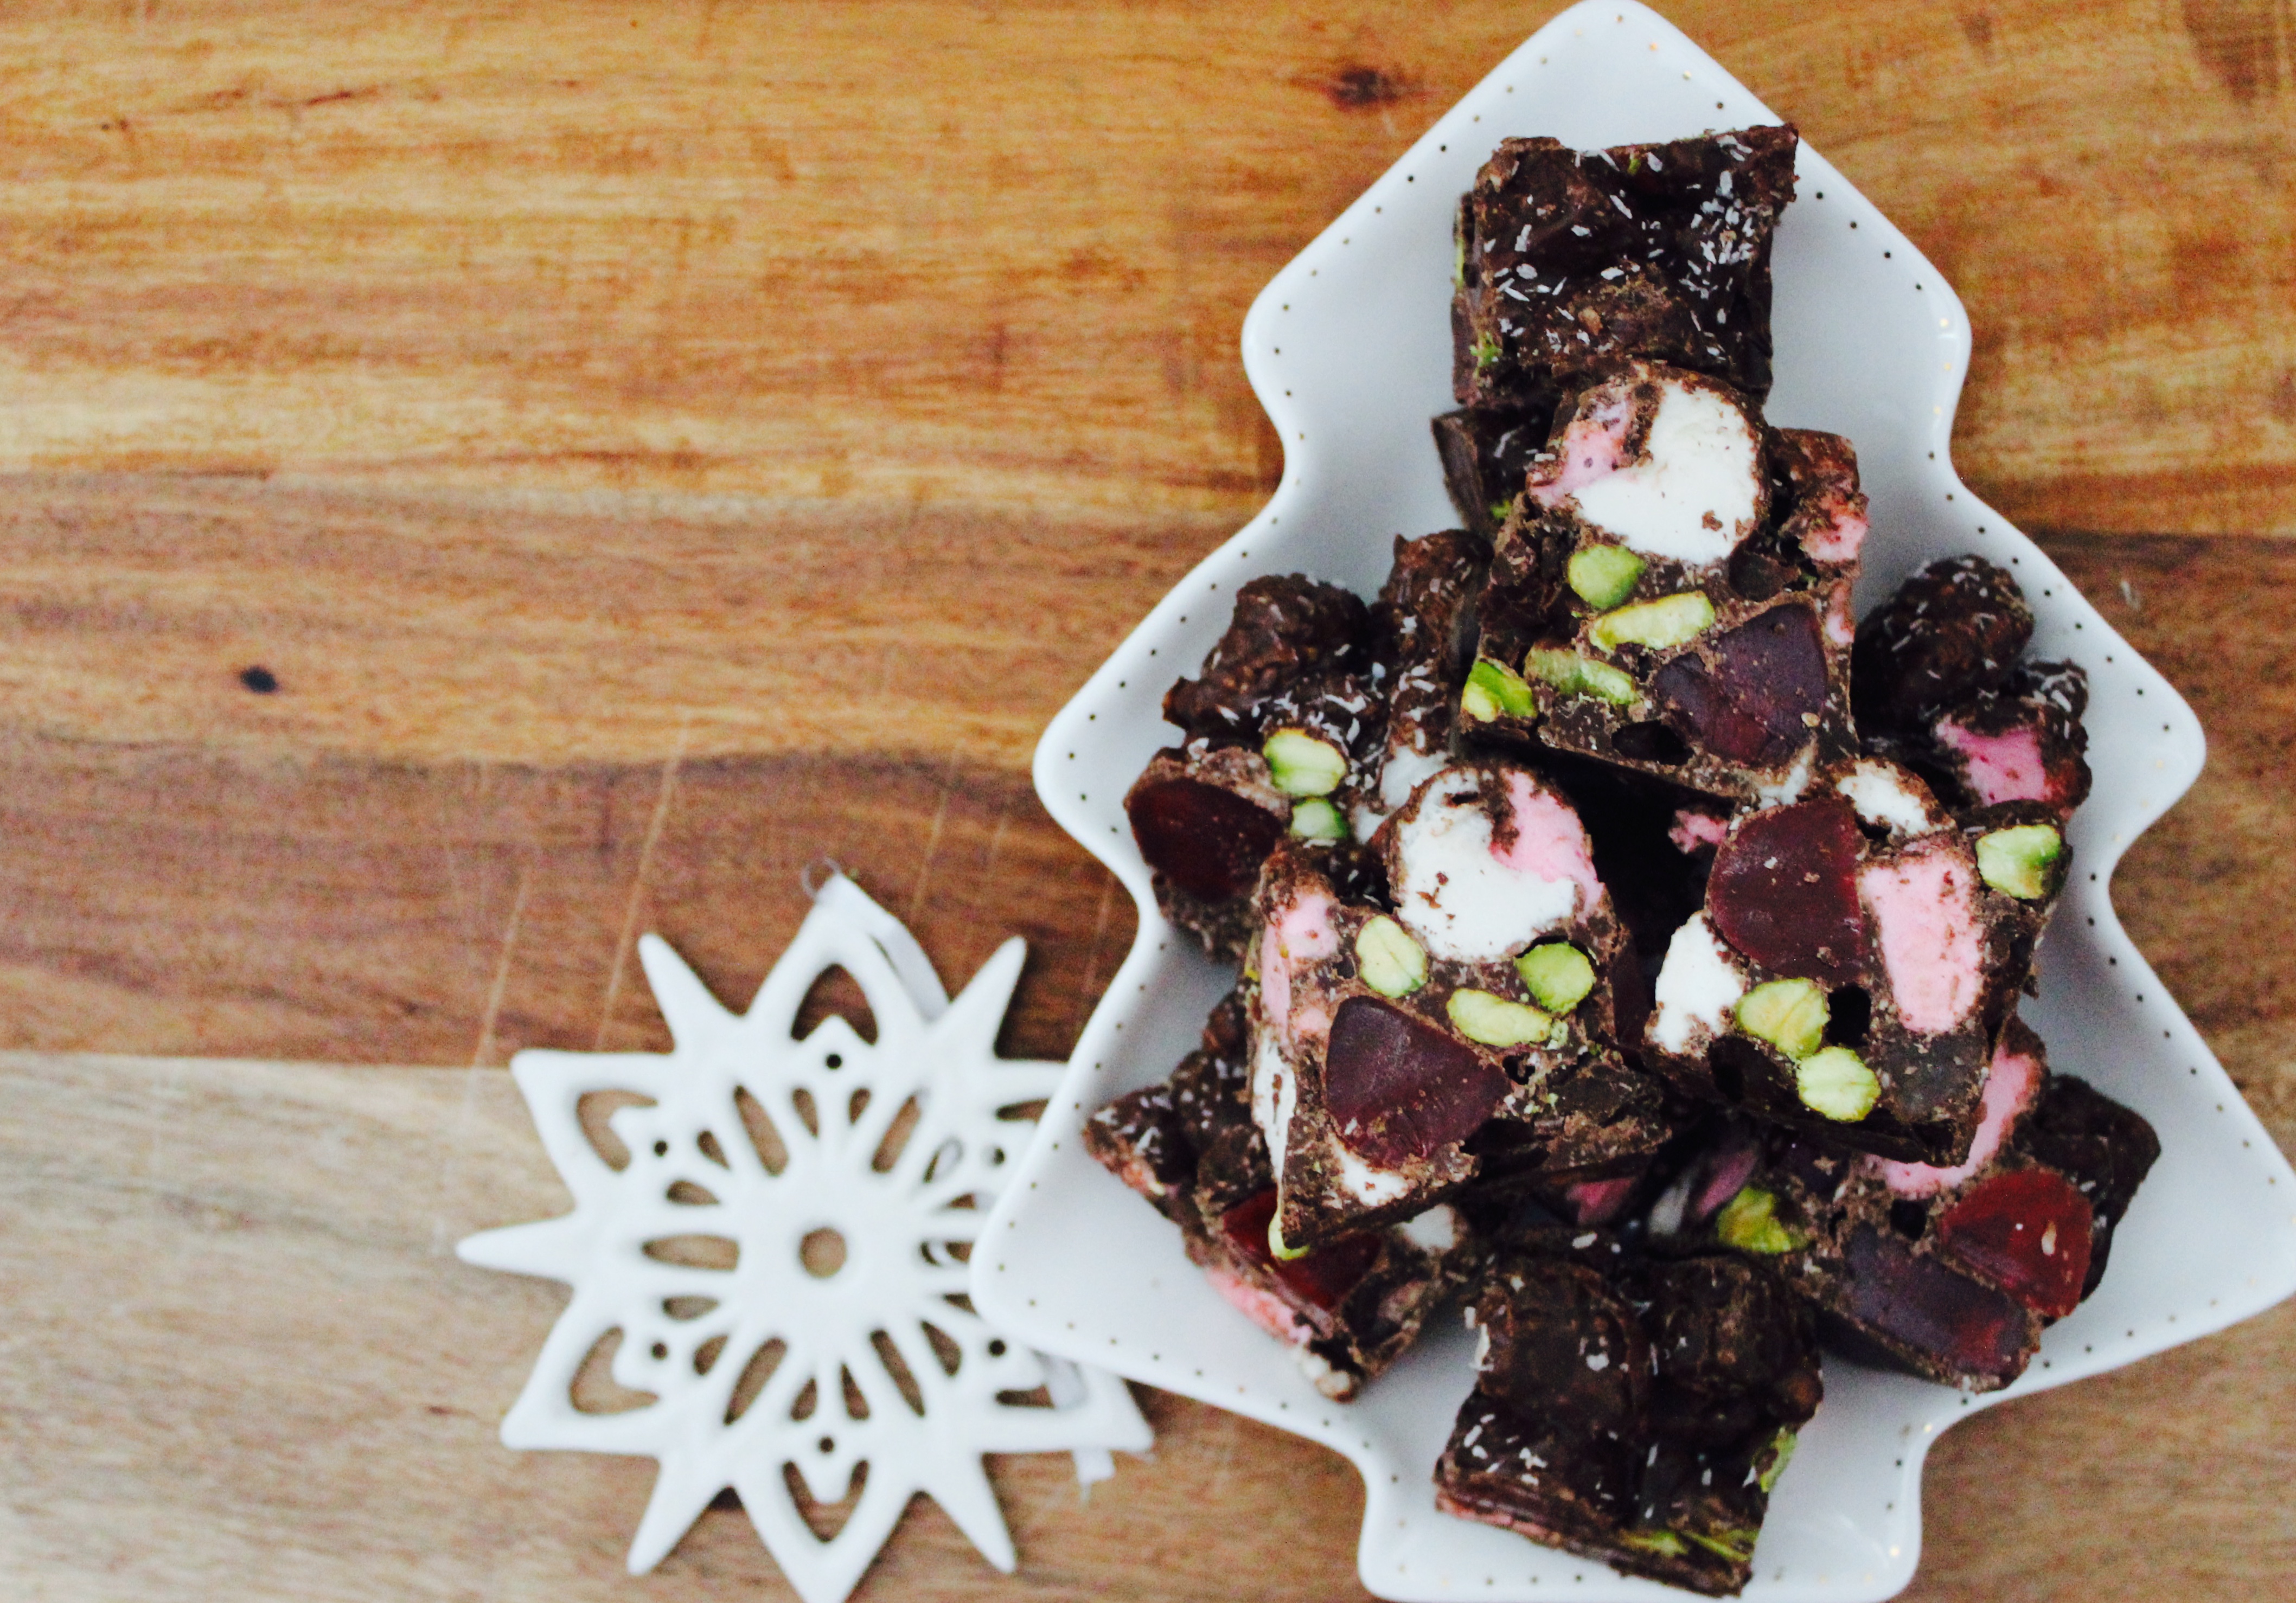
So to kick off a month of Celebrating, today I share with you a very simple recipe that says ‘Christmas’ in our house. 

On a night close to Christmas Day, we bundle the boys in the car in their PJ’s after dinner. With a tin of rocky road on my lap, Christmas carols playing and my husband at the wheel, we drive our surrounding suburbs with the windows down in search of the best Christmas lights. The boys look forward to this night so much, I am not sure if it’s the thrill of being out in their PJ’s at night or the rocky road that they love the most. 

Each week till Christmas I will share my favourite celebrating recipes. Simple ideas perfect for giving away as gifts or sharing with family and friends at this time of year. Most of them will be yummy, fun and not overly healthy. But then that’s what celebrations are for right? 

Rocky Road
Yields 40
Write a review
Print
Prep Time
15 min
Prep Time
15 min
Ingredients
  1. 200 grams dark eating chocolate, chopped
  2. 200 grams milk eating chocolate, chopped
  3. 2 x 180 gram packets pink and white marshmellows, chopped in half
  4. 2 x 180 gram packets red raspberry lollies
  5. 1/2 cup desiccated coconut
  6. 150 grams real turkish delight, chopped
  7. 90 grams pistachio nuts, shelled
Instructions
  1. Mix all ingredients except chocolate, in a large bowl.
  2. Place both chocolates in a heat proof bowl and melt for 1 minute on HIGH in the microwave.
  3. Remove, stir and keep heating in 30 second increments on HALF power, stirring in between, until melted.
  4. Pour melted chocolate over ingredients and mix thoroughly.
  5. Press into a lined square or rectangular tin.
  6. Refrigerate until set.
  7. Cut into small pieces and store in the fridge in an airtight container.
Notes
  1. Use your favourite eating chocolate to make a yummy Rocky Road, this is no place for 'cooking chocolate'.
cook fast eat slow https://www.cookfasteatslow.com/

Simple Berry Almond Tarts (no pastry)

Spring. 

Hello again.

Thank you for showing up, as you always do, with your new green growth, your bulbs and buds.

Thank you for your warmth, that’s just enough to start to defrost our homes and our spirits. I seem to forget about half way through winter that you indeed always show up. The coats and blankets start to feel heavy after a while. So, thank you that we can lighten our load now that you are here.

Thank you for your longer days and your breeze that blows through our homes and even our hearts. Winter always takes it’s toll, physically and emotionally. I am so thankful that the winters do end eventually, both in seasons and in our lives. 

Thank you that the washing will now dry in a day and that I can watch the boys play in the backyard while I cook dinner, instead of stepping around them as they play soccer in the kitchen (I wish I was joking).

Thank you for asparagus, oranges and rhubarb. For beetroot, cauliflower, fennel and leeks. Thank you for colour in our gardens and on our plates. 

Now that I have that off my chest, on to these gorgeous buttery berry tarts.

You may remember me telling you all about frangipane in my recipe for the French-style Summer Fruit Tart. If you don’t, you can read about it here.

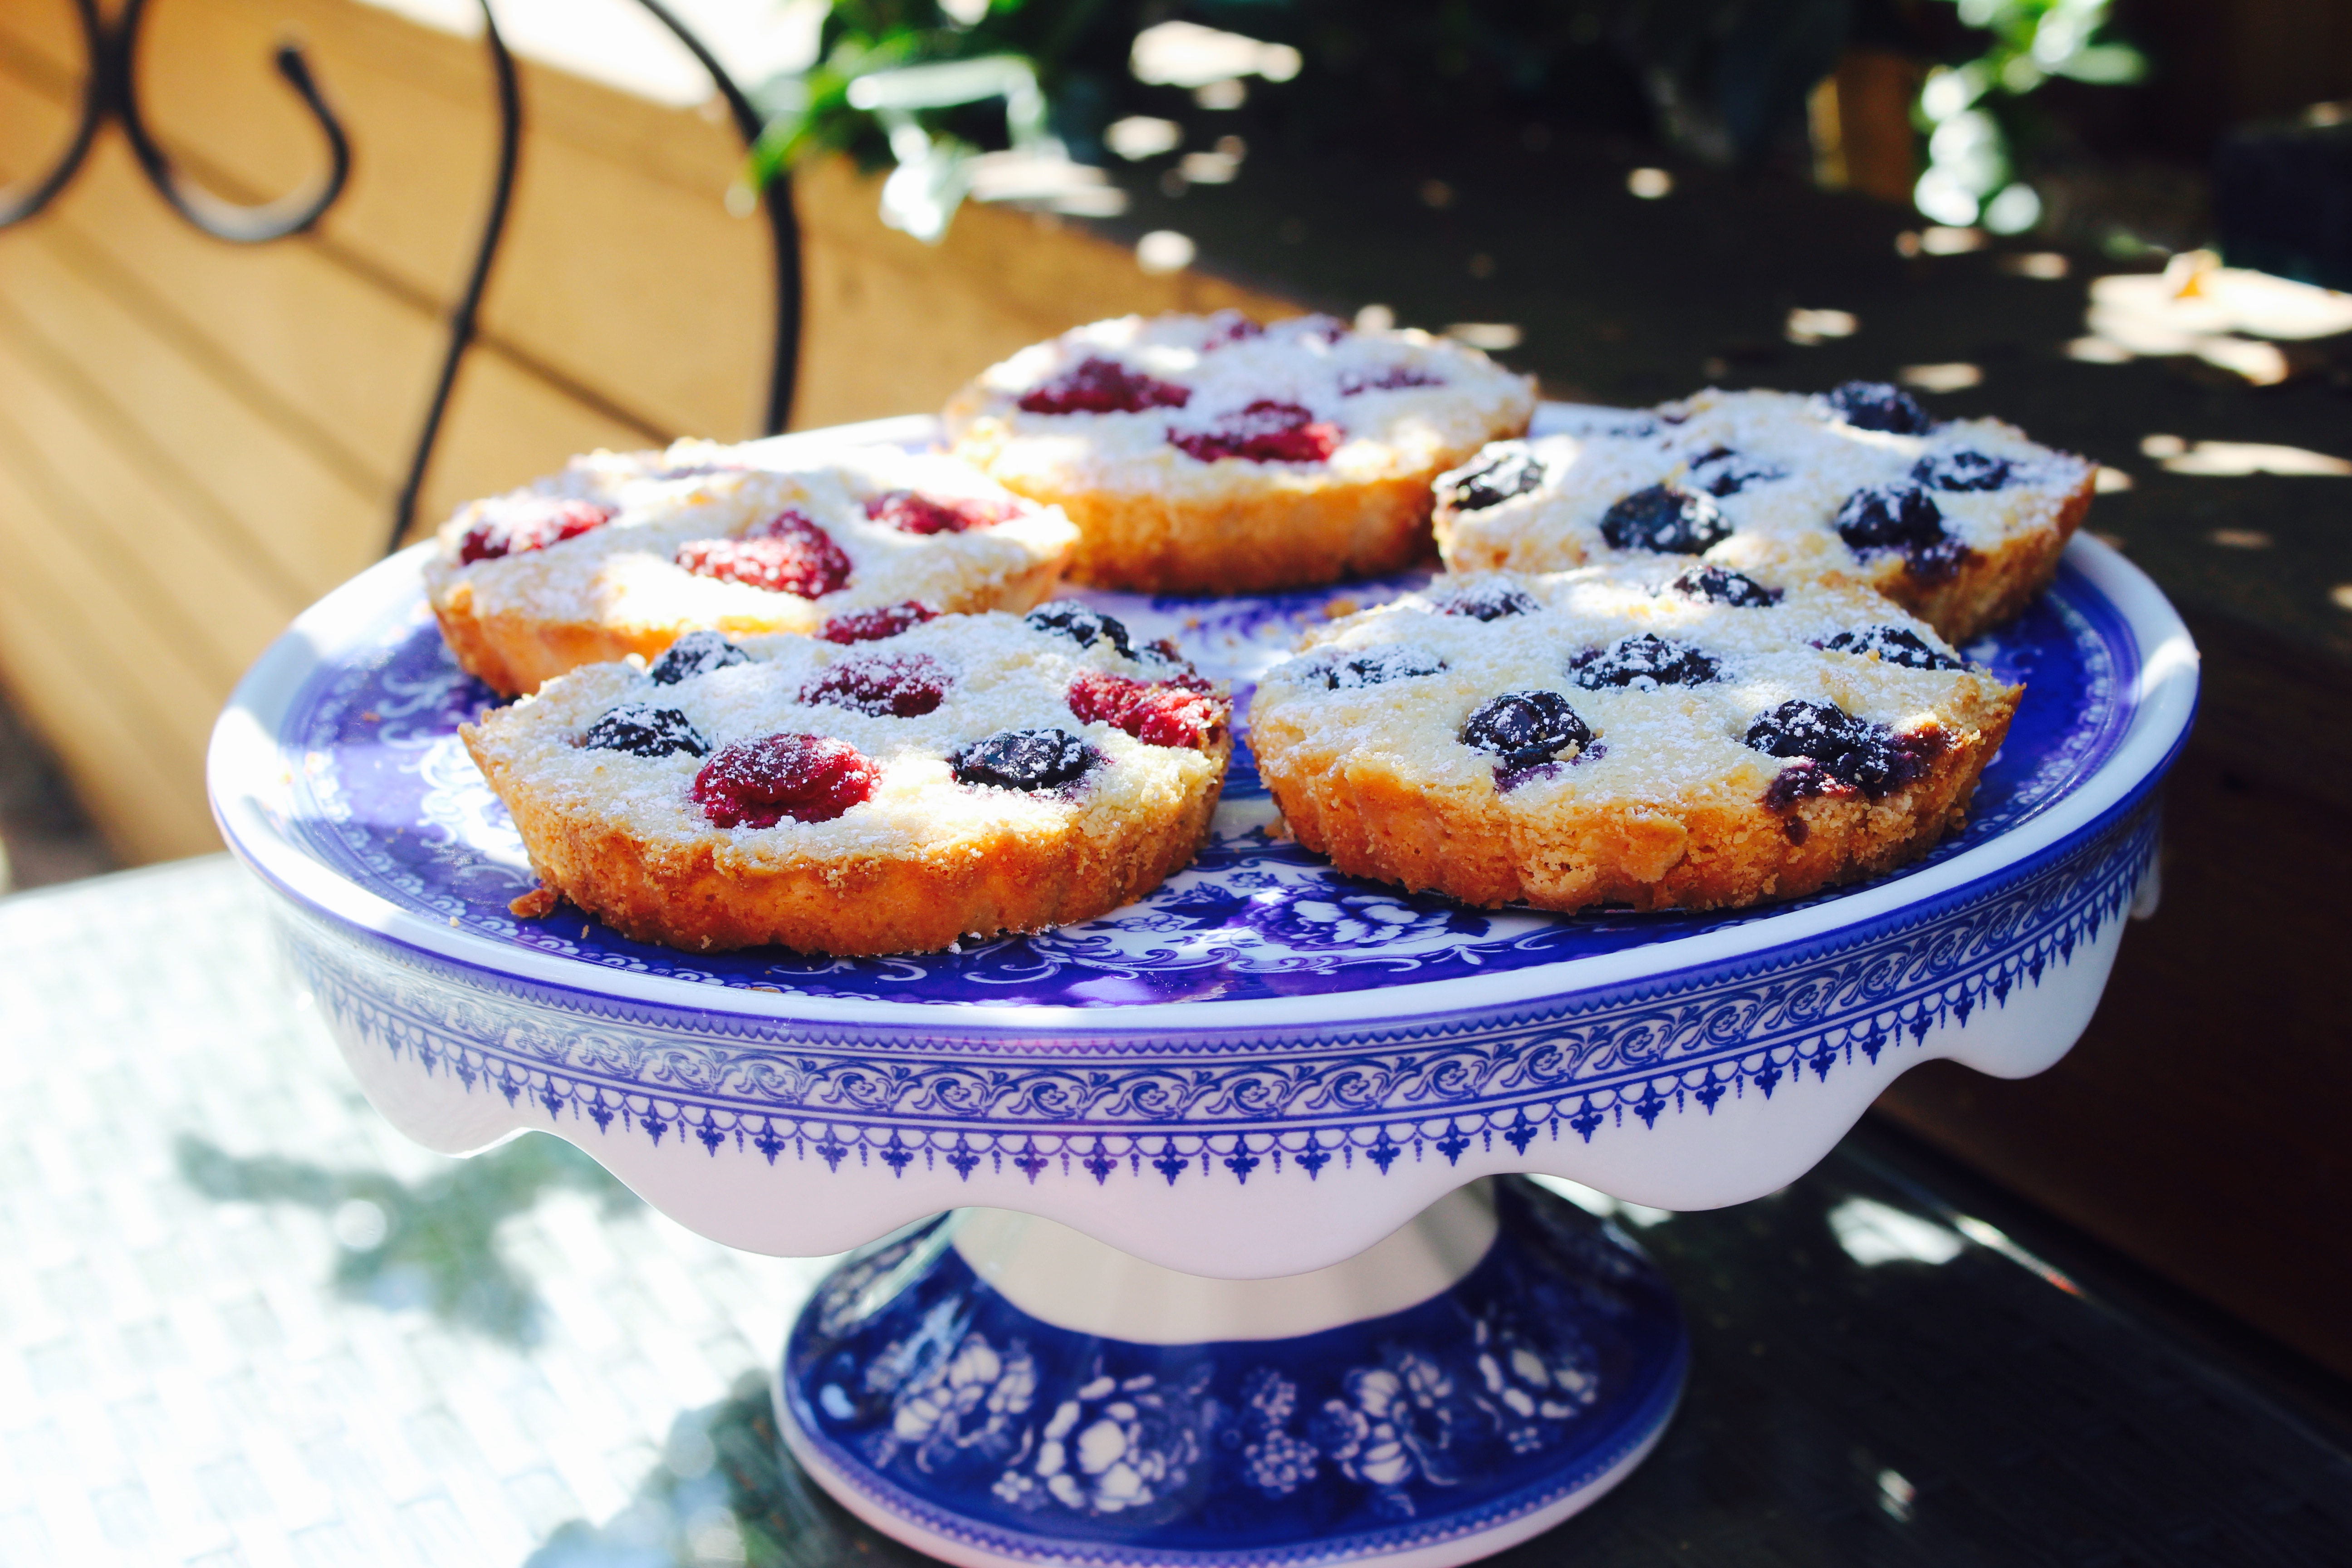
These tarts are simply the frangipane mixture, pressed into mini tart tins with removable bases and dotted with your berries of choice. No pastry needed.

Perfect for a picnic and freezable, I am very thankful to Donna Hay for this idea.

Simple Berry Almond Tarts
Serves 4
An easy frangipane mix studded with fresh berries.
Write a review
Print
Prep Time
10 min
Cook Time
35 min
Total Time
45 min
Prep Time
10 min
Cook Time
35 min
Total Time
45 min
Ingredients
  1. 90 gram unsalted butter, softened
  2. 1/4 cup castor sugar
  3. 1 egg
  4. 1egg yolk
  5. 1 1/2 tablespoons plain flour
  6. 1 1/4 cups almond meal
  7. 125 grams of berries of choice ie. raspberries, blueberries, strawberries, blackberries
Instructions
  1. Preheat oven to 150 degrees celsius.
  2. Cream butter and sugar together with electric beaters until pale and creamy.
  3. Add remaining ingredients, except the berries, and mix on low until thoroughly combined.
  4. Press mixture into lightly greased mini tart tins with a removable base.
  5. Press a few berries lightly into the top of each tart.
  6. Dust with a little icing sugar.
  7. Pop on a baking tray and bake for 30-35 minutes, or until lightly golden and slightly puffed up.
Notes
  1. These will last a couple of days in a single layer in an airtight container.
  2. They can be frozen too.
Adapted from Modern Classics 2
cook fast eat slow https://www.cookfasteatslow.com/