Florentines (gluten free)

I created this recipe a few weeks ago when I was asked to bring something for dessert to a friends house, whose family is mostly gluten free. 

As usual, it was after a forage in the pantry where I spied flaked almonds and craisins that needed using and suddenly the idea of a florentine biscuit came to mind. 

Because I have tried to create a refined sugar free version, you will find that the usual ‘toffee-like snap’ of a florentine isn’t there, but my taste testers assured me that it didn’t matter at all. They still taste like nuts and caramel and chocolate!

Putting a plate of these in the middle of the table at the end of big meal was just the perfect, not too sweet way, to finish. 

Florentines
Yields 20
A thin, chocolate coated biscuit of nuts and dried fruit.
Write a review
Print
Prep Time
15 min
Cook Time
10 min
Total Time
25 min
Prep Time
15 min
Cook Time
10 min
Total Time
25 min
Ingredients
  1. 200 grams flaked almonds, finely chopped
  2. 1/2 cup coconut sugar
  3. 1/2 cup craisins, (dried cranberries) chopped
  4. pinch of sea salt
  5. 1/2 teaspoon of orange zest
  6. 3 tablespoons gluten free plain flour
  7. 50 grams butter
  8. 2 tablespoons rice malt syrup
  9. 100 ml double cream
  10. Coating
  11. 100 grams good quality dark chocolate, (70-85%) chopped and melted
Instructions
  1. Preheat fan forced oven to 160 degrees celsius.
  2. Combine all dry ingredients in a bowl and stir to combine.
  3. Place butter, rice malt syrup and double cream in a small saucepan.
  4. Stir until butter has melted and bring to the boil.
  5. Once boiling, pour over dry ingredients and mix thoroughly.
  6. Leave mixture to sit for a few minutes.
  7. Place heaped teaspoon amounts on baking trays lined with baking paper. You many need to use your hands to help shape each circle.
  8. Flatten each one with your hand or the back of a spoon. I like mine thin, so no more than 1/2-1cm thick is good. Make sure you leave enough room for them to spread a little.
  9. Bake in the oven for 10 minutes, or until spread a little and golden.
  10. Leave to cool completely on trays.
  11. Once cool, dip one side of each biscuit in melted chocolate and leave on a wire rack (with a tray underneath to catch the drips!) until set.
Notes
  1. Store biscuits in an airtight container for 3-4 days. They will get softer over time. If it's very hot, store them in the fridge.
cook fast eat slow https://www.cookfasteatslow.com/

Torta Chocolate (and Tales from Tuscany)

Every now and then, dreams come true. 

Ever since I was a little girl, I had dreamed of one day visiting Italy. There’s always been something about Italy that has had me captivated; it’s food, people and their love of big-hearted hospitality are just some of the things I love about it.

So, when we were invited to join some friends for a holiday to a Villa in Tuscany, it finally felt like the right time to pack up the family and head to Europe. 

Like everyone, we’ve had our fair share of holidays that haven’t quite lived up to expectations. 

But from the moment we landed, this one met and exceeded them at every turn. 

After 3 days in glorious Venice (recipes to come from there later), we headed to Tuscany and embarked on a week of sight seeing, walking, touring, eating, drinking and immersing ourselves in everything Italy. 

Our base was Villa Gourmet, an old but beautifully restored villa with ample space for our 3 families. Surrounded by acres of olive groves, vineyards and sunflower fields, this Villa felt like home from the moment we arrived. Most meals were eaten at the pool house, which had it’s own kitchen and wood fired pizza oven. 

We cycled through the walled city of Lucca, walked along the top of a 13th century Castle in Montalcino, wandered museums of Florence, and drank Prosecco looking over the fields of Tuscany. We tasted local olive oils, balsamic vinegar and wines and ate at restaurants with no menu where the owners just cooked what they loved and served it. 

We ate pizza, gelato, bruschetta, seafood and the famous Florentine Steak that Tuscany is known for. After long days out touring, evenings were spent with antipasto and wine by the pool where the kids swam until the sun went down, just after 10pm!

On an extra special day, which had been planned by my sneaky friends as a surprise for my 40th birthday (which happened to fall while we were away), we found ourselves Truffle hunting in the woods. 

We were then driven to the beautiful home and vineyards of a family who welcomed the 14 of us into their home and proceeded to cook us a 5 course lunch, with our truffles as a star ingredient. 

We ate Truffled Ravioli (the likes of which I may never have again), Truffled Burrata, and the most amazing veal I have ever had with a truffle sauce. 

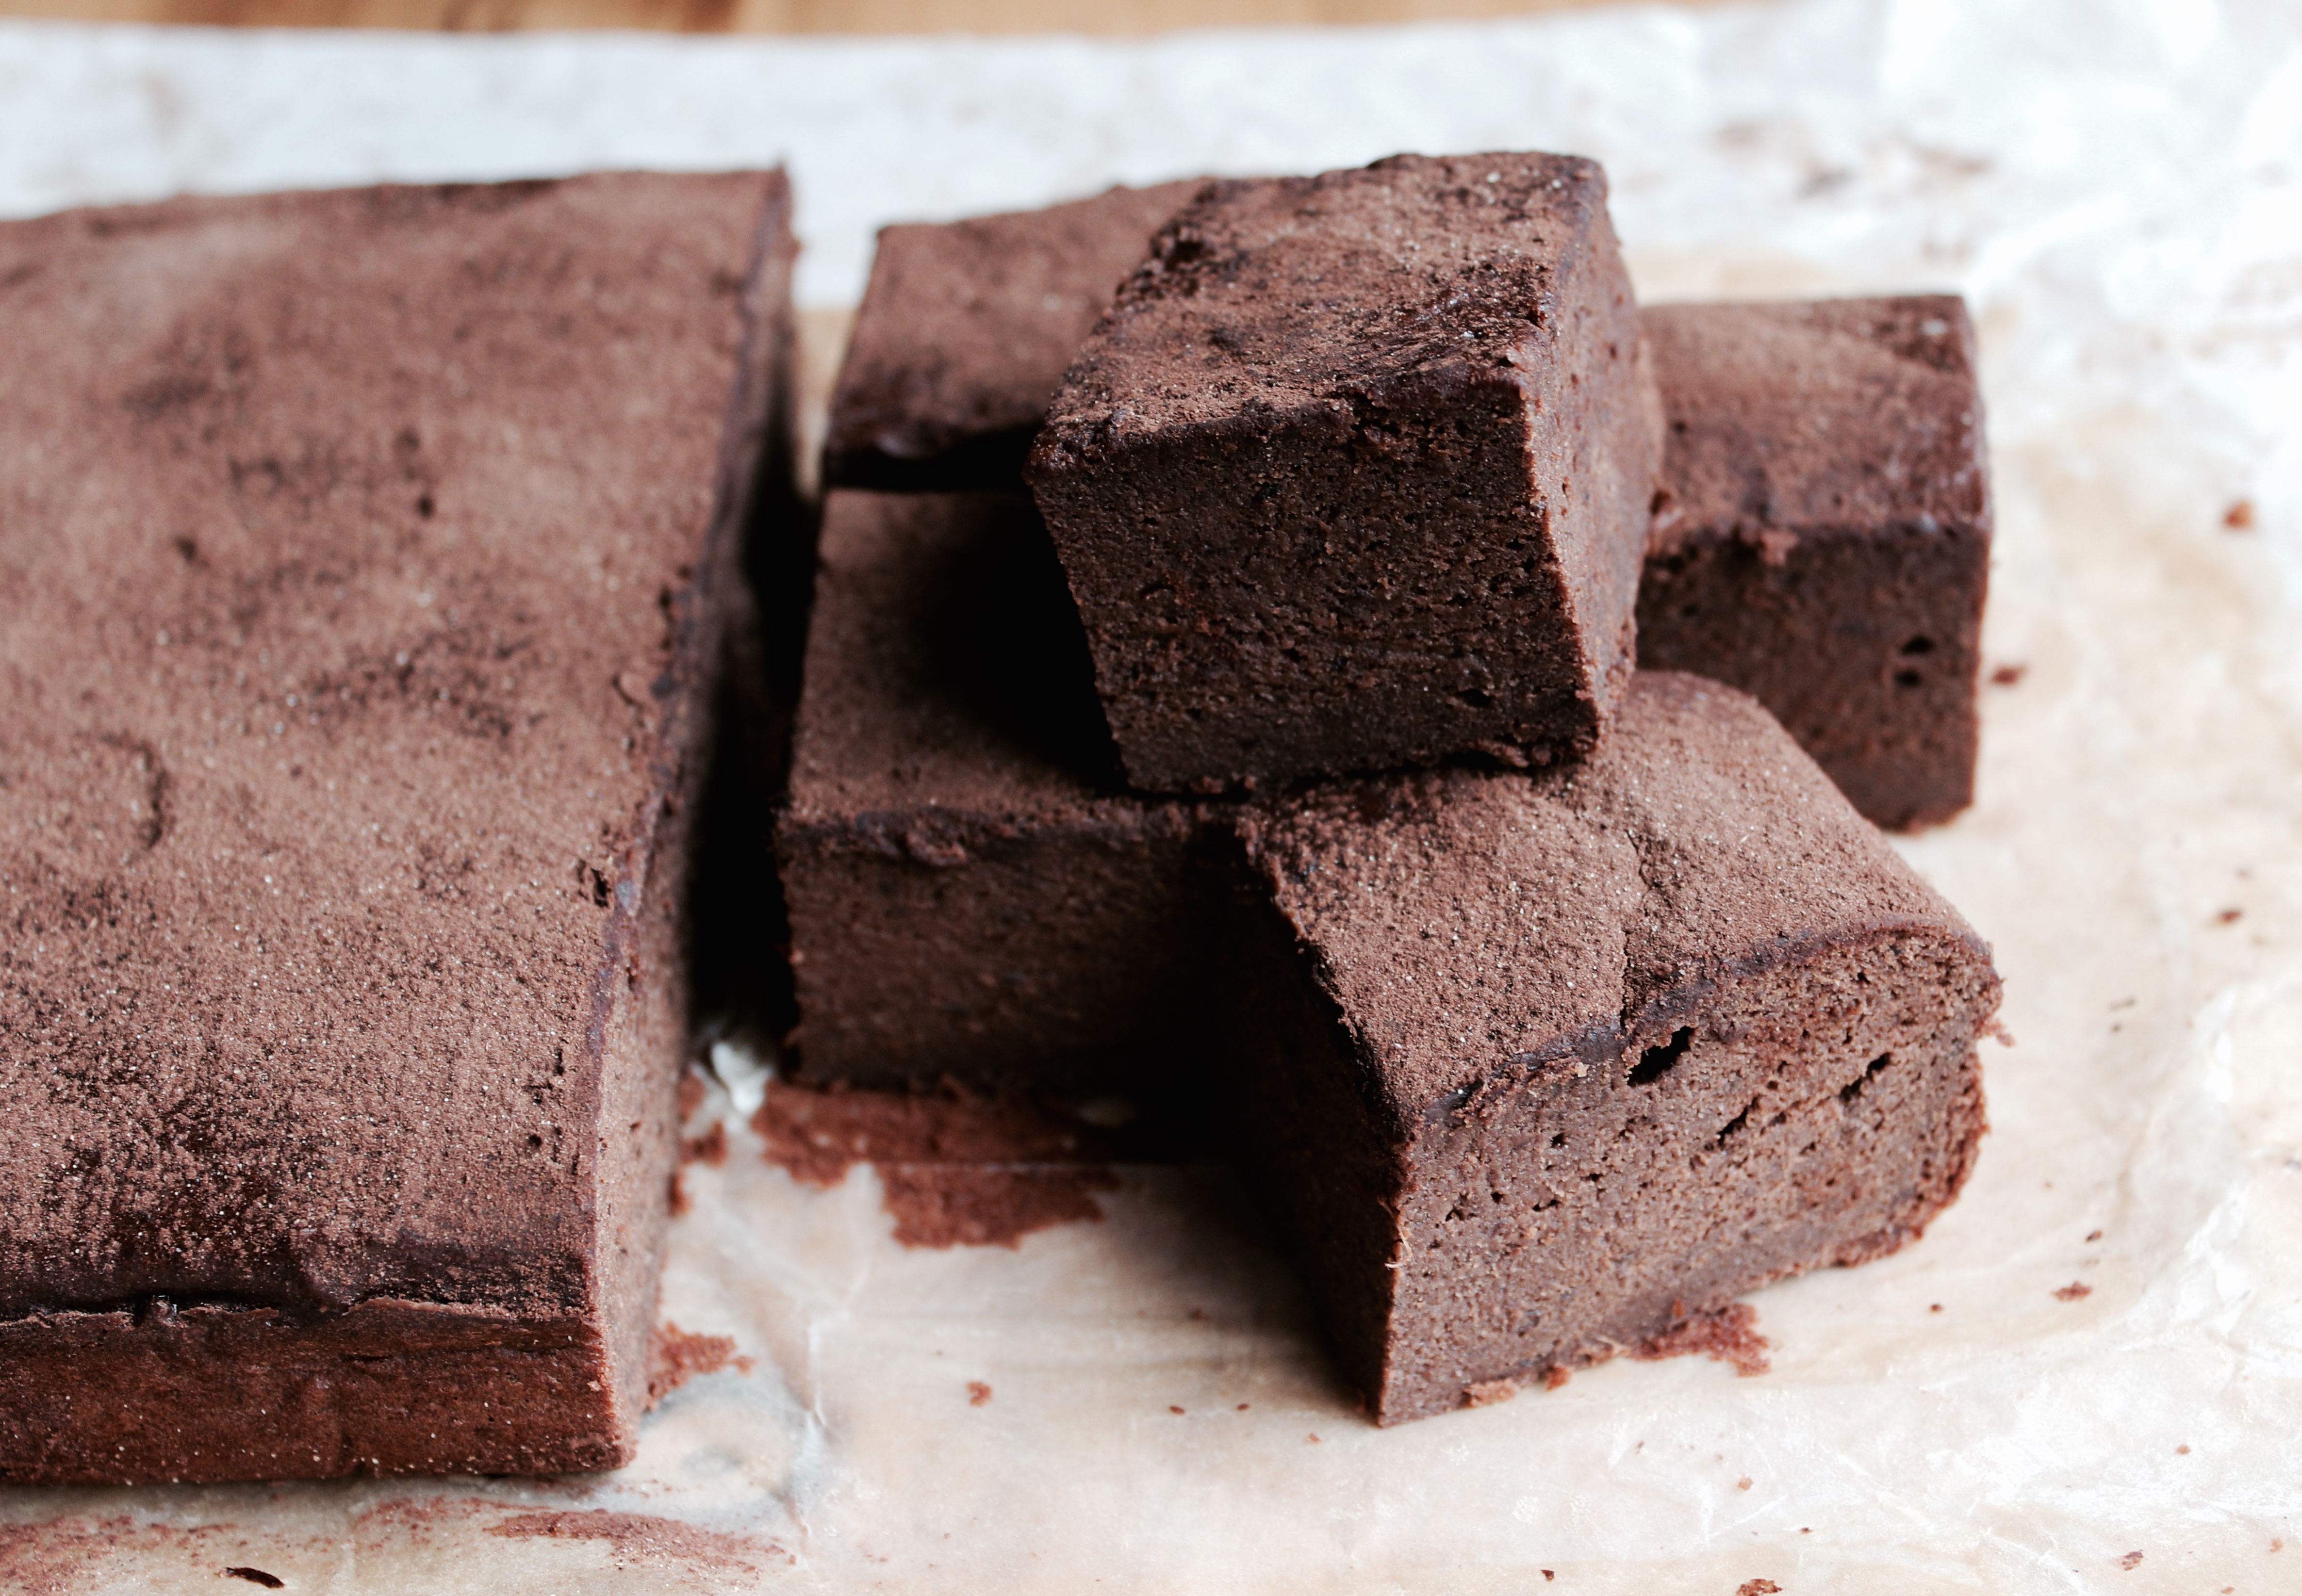
When we truly felt we could eat no more, our hosts brought this slim yet decadent Chocolate cake to the table. Named ‘Torta Chocolate’, it is made with 5 ingredients and cooks in just 9 minutes. It is a rich and velvety cake, that looks quite humble, and yet is decadent to eat. 

The Italians we met and ate with on our trip truly welcomed us with a warmth and generosity of spirit that you don’t find everywhere. Their attitude is that life and food is to be celebrated and enjoyed, not just on special occasions, but on even the most ordinary of days. 

Our beautiful hosts happily shared their recipe with me and here I am, passing it on to you. My hope is that you will cook it for a stranger or a friend sometime soon and spend some time with those people, celebrating life around a table.  

Torta Chocolate
Serves 8
A rich, velvety chocolate cake that cooks in 9 minutes.
Write a review
Print
Prep Time
10 min
Cook Time
10 min
Total Time
20 min
Prep Time
10 min
Cook Time
10 min
Total Time
20 min
Ingredients
  1. 4 eggs
  2. 150 grams butter
  3. 250 grams good quality dark chocolate (minimum 50% cocoa solids, 70% works the best)
  4. 1 tablespoon sugar
  5. 1 tablespoon plain flour (this also works with gluten free flour or almond meal)
Instructions
  1. Preheat oven to 180 degrees celsius or 160 degrees fan forced.
  2. Melt the butter and chocolate together, either in the microwave, 1 minute at a time, or in a bowl over a pan of simmering water.
  3. Add the remaining ingredients and stir until the mixture is smooth and combined.
  4. Pour the mixture into a greased and lined round cake tin (approx 23cm) or the size of a dinner plate. It is supposed to be very thin.
  5. Cook for 9 minutes.
  6. As all ovens are a little different, at this stage you can check by moving the pan gently. The cake should be set on the outside, but have a very slight wobble right in the centre. Remove it from the oven at this stage and it will set further as it cools.
  7. If it doesn't seem set enough, put it back in for 2 minutes more and check again.
  8. Dust with cocoa or icing sugar to serve and enjoy on it's own or with double cream and berries.
Notes
  1. This cake can be eaten warm or at room temperature.
  2. If you do happen to over cook it, it will still be edible, but will taste more 'cake' like instead of velvety and smooth.
cook fast eat slow https://www.cookfasteatslow.com/


Chai-Spiced Brownies (gluten free, dairy free, low sugar)

Hey there….. it’s been a while I know. 

More than 3 months to be exact, since I sat and wrote to you and shared a new recipe from my kitchen. 

After posting a new recipe nearly every week for the past 2 years, I can’t believe the last 3 months have come and gone so quick. 

How have you been? 

I’ve been doing Life With a Capital L. Probably the same as you. 

I remember vividly sitting down with a cuppa towards the end of January and thinking through what was to come over the next few months and wondering How On Earth We Would Get It All Done. 

But as sure as the sun rose this morning, here I am. Sitting down in my quiet house, next to my warm fire and writing once again, with the last few months already in the past. 

There was no magic formula to managing the mayhem of the last few months. We tackled it the old fashioned way – one day at a time. 

We’ve had a few firsts in our house this year. 

My husband started a new job which has been super exciting and I finally got the courage up to enrol in a Masters of Teaching so I can take my love of food and cooking and teach it to high school students. I have been dreaming of doing this since my early 20’s, but each time I thought I about it seriously, it just didn’t seem to be a good time. 

That doesn’t mean now is a great time either. Life, Marriage and Motherhood have taught me that nothing is neat and straight forward. It’s messy, a juggle and full of lots of give and take and compromise and sometimes you just have to dive in and figure it out as you go. It dawned on me late last year that if I kept waiting for the perfect time, when all my ducks were in a row, I would never do it. 

So I am 2 subjects in and filled with excitement and sheer terror at the thought of getting through the next 4 years. I have been talking to myself a lot lately, and I am trying to follow the advice I often give the boys – don’t look too far ahead. Do what is right in front of you and tomorrow will take care of itself. 

Just to keep things interesting, we added 2  x children surgeries, 1 x child’s broken wrist, and decided to put our house on the market and sell it. 

We tackled it like any normal person would. With loads of lists, help from family and many more take away meals than I would usually admit to. Oh.. and lunch orders too. 

There was no spare time for coming up with new meal ideas or playing in my kitchen. If I wasn’t using my own website for recipes that take less than 20 minutes, I was sitting in our local shopping village, feeding the boys Subway at 6pm on a Wednesday night. 

It hasn’t been all chaos and drama. Recently we celebrated my husbands ‘special’ birthday, the one that starts with a 4….My husband loves the water, so after he spent a day sailing with a bunch of mates, the boys and I joined him for a night on a boat. It was a fun thing to do as a family after a pretty stressful few months and a great way to celebrate him. 

Despite still having uni work to do over Easter, we enjoyed a change of scenery at the Farm. A few days of rest and reflection and country air did us all the world of good. 

So that brings us to today. 

The idea for these brownies popped into my head while working on one of my assignments. 

Inspired by a recipe from Bourke St Bakery, I wanted to make a brownie that was moist and chocolatey, but didn’t have the normal 2 cups of sugar that are in most brownie recipes. 

The chai-soaked prunes are the star of this recipe – whilst you can’t actually taste the prunes, they are what makes these brownies ultra moist and sweet. The longer you can soak the prunes for the better. Overnight at the very least, but up to 3 days if you can handle waiting that long!

Replacing butter for almond butter, normal flour for gluten free flour, using good quality 70% chocolate (with no dairy) and using rice malt syrup to sweeten it just a little means that this becomes a recipe people on restricted diets can enjoy. 

My boys LOVE these brownies, but to make it school friendly, I will need to use normal butter instead of almond butter. I think 200 grams of unsalted butter would probably work fine. 

It’s great to be baking again.

E x

Chai-Spiced Brownies (gluten free, dairy free, low sugar)
A moist chocolate brownie with a hint of spice from chai tea.
Write a review
Print
Ingredients
  1. 1 1/2 cups pitted dried prunes
  2. 1 chai tea bag
  3. 250 gram jar of almond butter
  4. 200 gram 70% or 85% good quality dark chocolate, chopped
  5. 1/2 cup rice malt syrup
  6. 4 eggs
  7. 1/2 cup gluten free plain flour
  8. 1 teaspoon baking powder
  9. 1 teaspoon vanilla extract or essence
Instructions
  1. Place prunes in a heatproof bowl with the chai tea bag.
  2. Pour enough boiling water over to cover the prunes, no more than 2 cups.
  3. Remove the tea bag after 5 minutes.
  4. Cover with cling wrap and sit at room temperature for 2-3 days.
  5. Preheat oven to 170 degrees celsius.
  6. Line a rectangular slice tin with baking paper.
  7. Place chocolate, almond butter and rice malt syrup in a bowl over a saucepan of simmering water. Stir until chocolate is melted. (This mixture will be stiff and not 100% smooth, but it doesn't matter.)
  8. Place prunes and soaking liquid in a food processor, add the chocolate mixture and blitz for a few seconds till smooth.
  9. Add eggs and blitz till combined.
  10. Add remaining ingredients and process for 1-2 minutes.
  11. The mixture will be mousse-like and quite thick.
  12. Pour into tray and bake for 35-40 minutes, or until risen and it springs back when pressed lightly.
  13. Cool in tray for 15 minutes.
  14. Enjoy warm or at room temperature.
Notes
  1. This will keep for a few days in an airtight container.
  2. Place in fridge to extend it's shelf life, but eat at room temperature or slightly warmed for maximum flavour.
Adapted from Bourke St Bakery Cookbook
cook fast eat slow https://www.cookfasteatslow.com/

Spiced Chocolate Crackle Biscuits

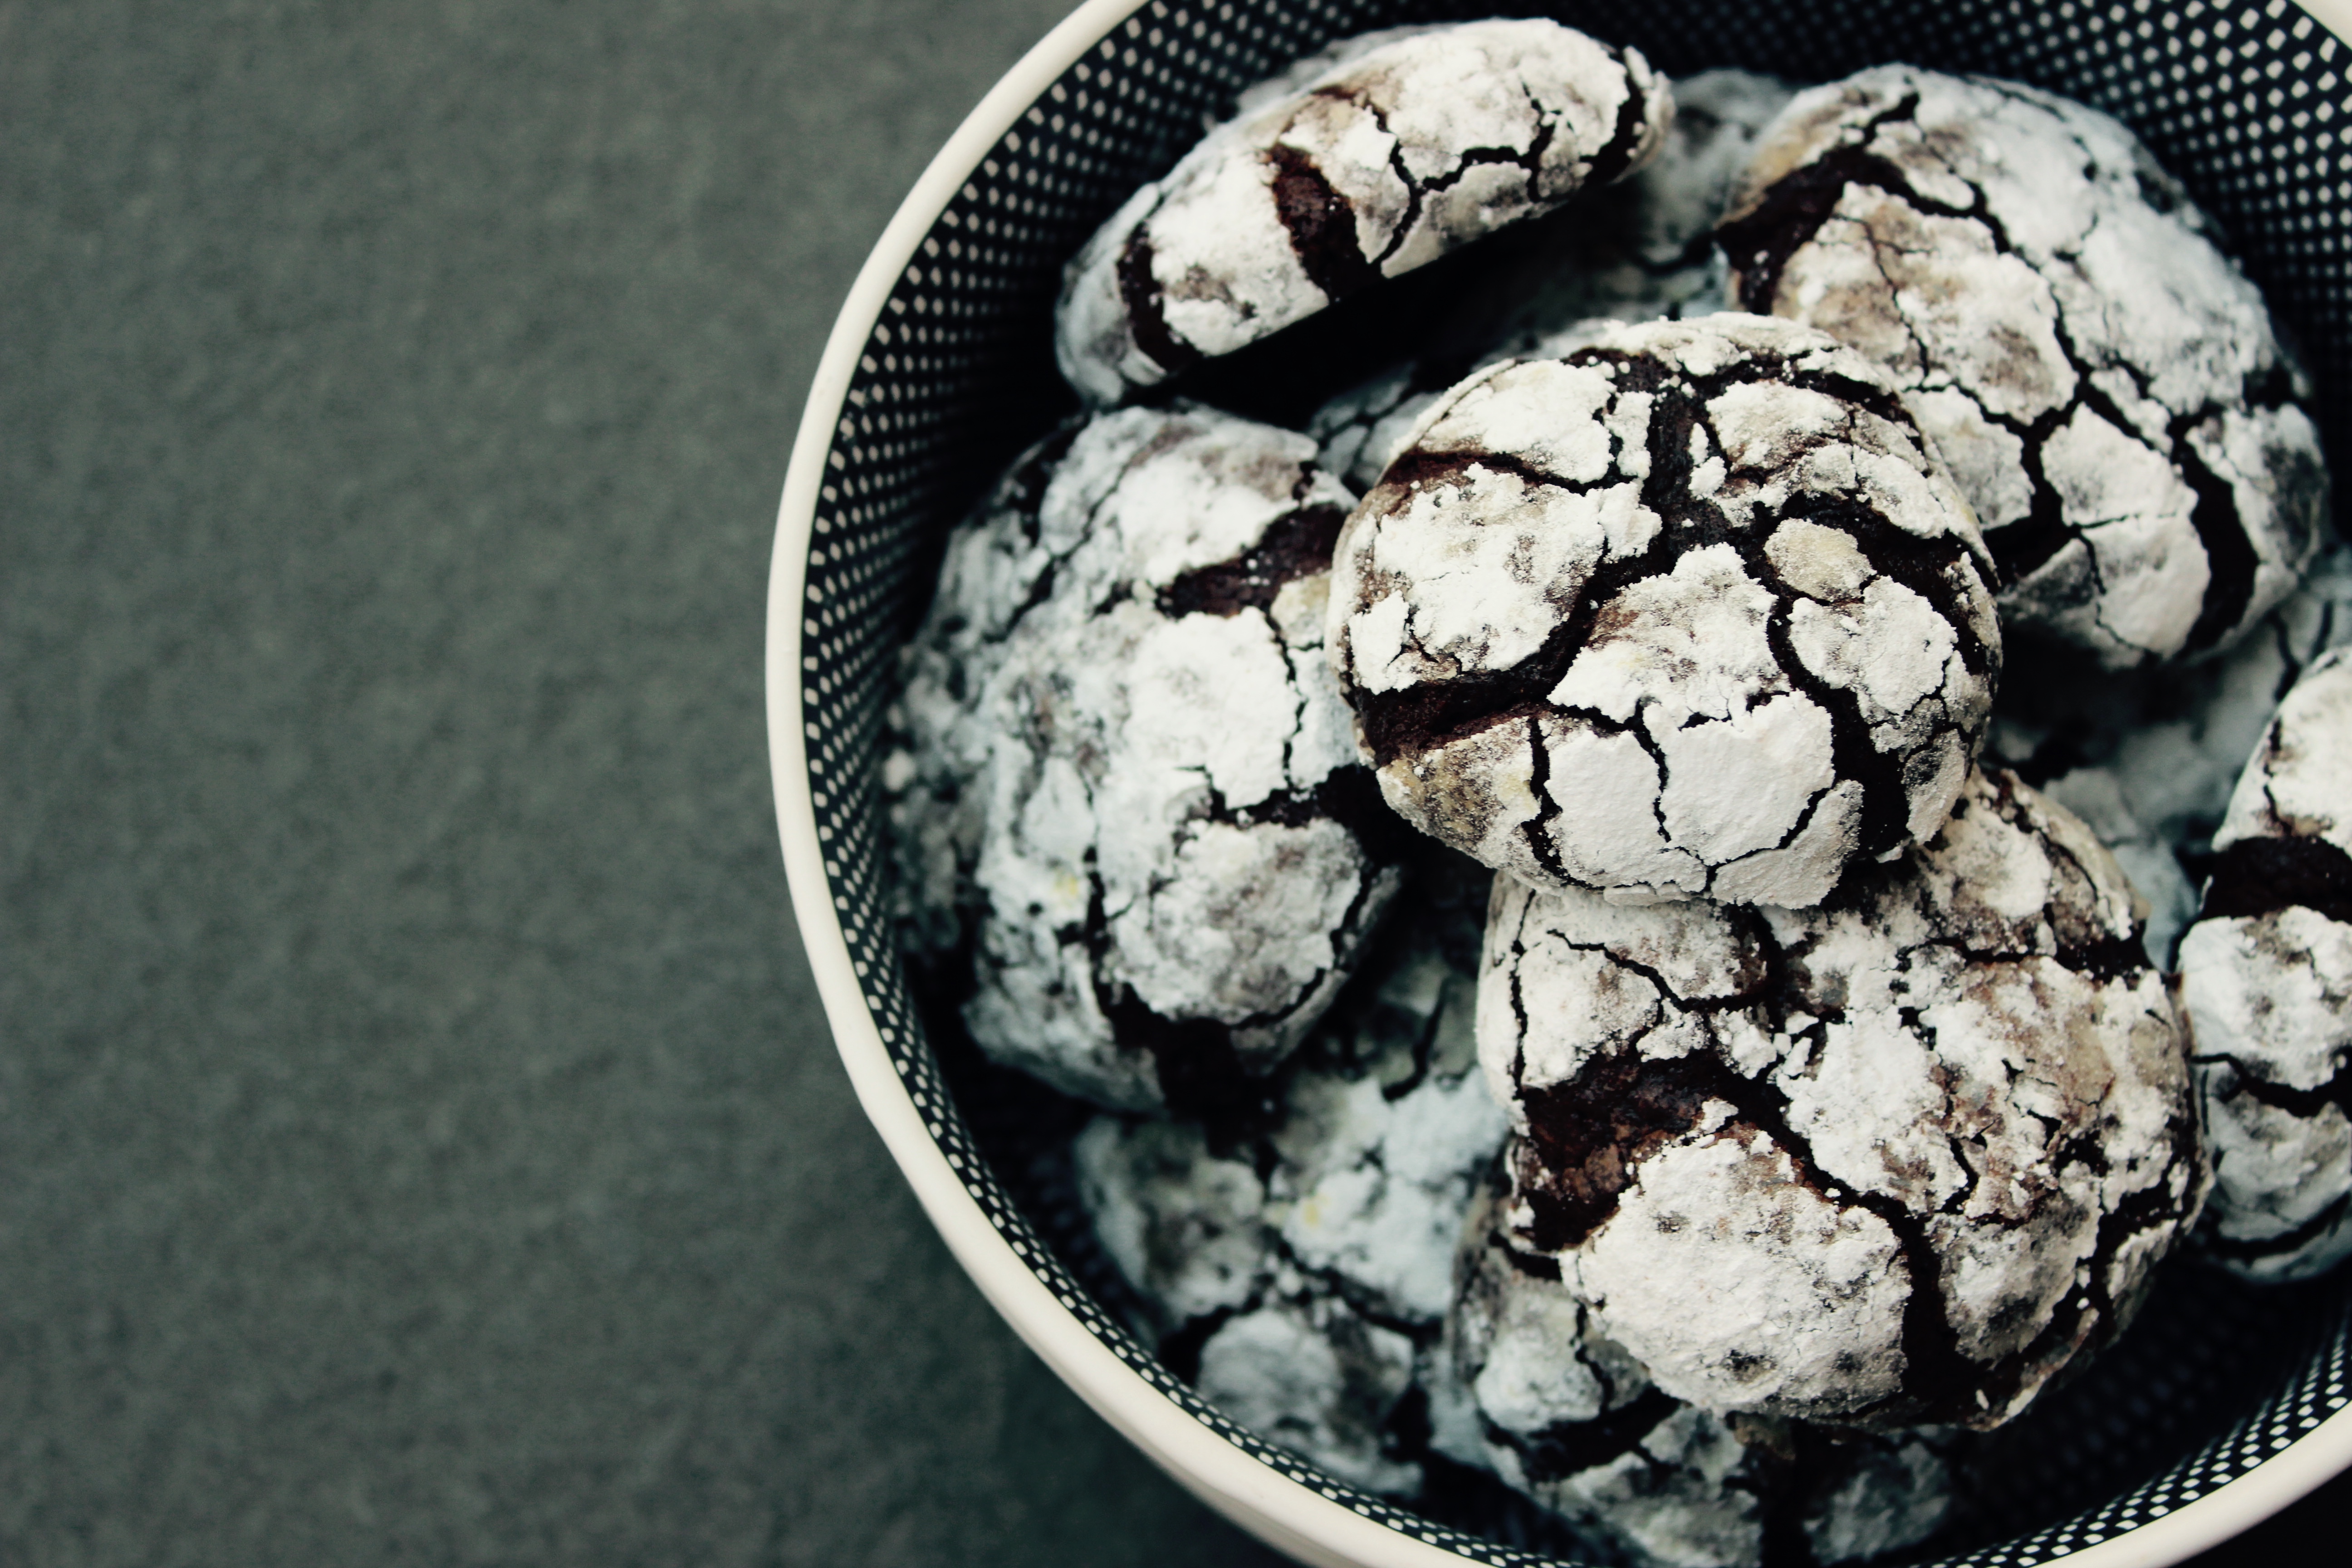
These ‘brownie-like’ biscuits make such a pretty Christmas gift.

With their snowy appearance and hint of orange and spice, your family and friends will love these chocolate treats. 

There are only 2 simple steps involved, melting the chocolate and flavourings and creaming the eggs and sugar. For the creaming part, you will need electric beaters to get the mixture as pale and thick as possible. Using a hand held whisk will simply not cut it. 

These biscuits really do require a good quality dark chocolate such as 70% cocoa, as their base. But if you must, you could substitute it with milk chocolate. They will be lighter in colour and not quite as rich. 

A batch of these have said thank you to my son’s teachers, who have patiently encouraged, inspired and believed in my boys this year. 

I think another batch is in order soon, as my husband is complaining he didn’t get any and they just really do make the cutest gifts. Placed in a beautiful bowl or wrapped in cello bags, they will be a hit I promise. 

Thanks to the Australian Women’s Weekly for another great recipe. 

Happy Baking friends x

Spiced Chocolate Crackle Biscuits
Yields 25
A brownie-like chocolate biscuit with a hint of orange and spice.
Write a review
Print
Prep Time
30 min
Cook Time
12 min
Total Time
42 min
Prep Time
30 min
Cook Time
12 min
Total Time
42 min
Ingredients
  1. 200 grams dark chocolate (70% cocoa) chopped
  2. 40 grams unsalted butter, chopped
  3. 1/4 cup chocolate hazelnut spread
  4. finely grated rind of 1 orange
  5. 1 teaspoon mixed spice
  6. 2 eggs
  7. 1 egg white
  8. 1/2 cup castor sugar
  9. 1/3 cup plain flour
  10. 2 tablespoons cocoa powder
  11. 3/4 cup icing sugar for rolling
Instructions
  1. Place the chocolate, butter, spread, rind and spice in a small saucepan and stir over low heat until melted and combined. Set aside.
  2. Beat eggs, egg white and sugar in a small bowl with electric beaters for at least 5 minutes, or until very pale and thick. When you lift the beaters, the mixture should fall in ribbons.
  3. Gently fold the chocolate mixture into the egg mixture until well combined.
  4. Gently fold in the sifted flour and cocoa powder.
  5. Refrigerate for 1-2 hours or until firm.
  6. Preheat oven to 180 degrees celsius, 160 degrees for a fan-forced oven.
  7. Sift icing sugar into a large bowl.
  8. Using a dessert spoon of mixture, carefully form a ball with your hands and drop the ball into the icing sugar, tossing it around the icing sugar so it's coated thickly.
  9. Place on baking trays lined with baking paper, leaving room for them to spread.
  10. Bake for 12-14 minutes or until firm.
  11. Stand on trays for a couple of minutes, then cool on wire racks.
cook fast eat slow https://www.cookfasteatslow.com/


Rocky Road (and what Celebration means to me)

I am a celebrations person. 

There is no denying it and the older I get, the more I want to embrace celebrating everything. 

Birthdays, anniversaries, milestones, Friday night, Hump Day, going on holidays, coming home from holidays, the start of a new season, the end of a season, new friends, old friends, a new season of my favourite TV show, public holidays, a new house, the end of a job, graduations….I could go on. Do you get the picture? 

A few months back, I decided to light a candelabra and put it in the middle of the dinner table, that had been set with my favourite grey and white striped place mats. 

“What are we celebrating?” my middle son said as he came to sit down. 

“The fact that it’s Thursday and we are all home for dinner at the same time.” I said.

This past year we have celebrated many special birthdays of family and friends. 40, 50 and 70th’s and some milestone anniversaries. They have all looked different, but one constant has been the presence of champagne and tears at them all.

Champagne and Tears.

The good and the bad, the bitter and the sweet. 

When I talk about celebrating, I am not Pollyanna, declaring everything is happy, perfect and sparkly, clinking glasses with a big fake smile. 

Celebrating to me, is often the defiant stance of remembering, pausing and giving thanks for something or someone inspite of our circumstances, the difficulty or cost. 

This brings me to December and I am declaring this the month of Celebration. 

I am challenging myself to keep my celebrating spirit alive, despite my weariness and a to-do-list that feels unattainable and sends me into a mild panic from time to time. 

As surely as the sun rises each morning, Christmas comes to us in December each year. Not to overwhelm us and send us into a state of chaos and exhaustion, but indeed to remind us to pause and remember and give thanks. 

For every event and get together that keeps the calendar full, I celebrate the gift of relationships and the family and friends who do life with us. 

For every gift purchased, wrapped and given, we get to say thank you to a teacher, coach, neighbour, minister or friend who has enriched our lives this year. 

And for me, surpassing all of those wonderful things, I get to crank the music loud and with arms raised high sing 

JOY TO THE WORLD, The Lord Has Come!

There is no greater reason to celebrate in all the world, than the fact that Jesus came. For me. And for you.

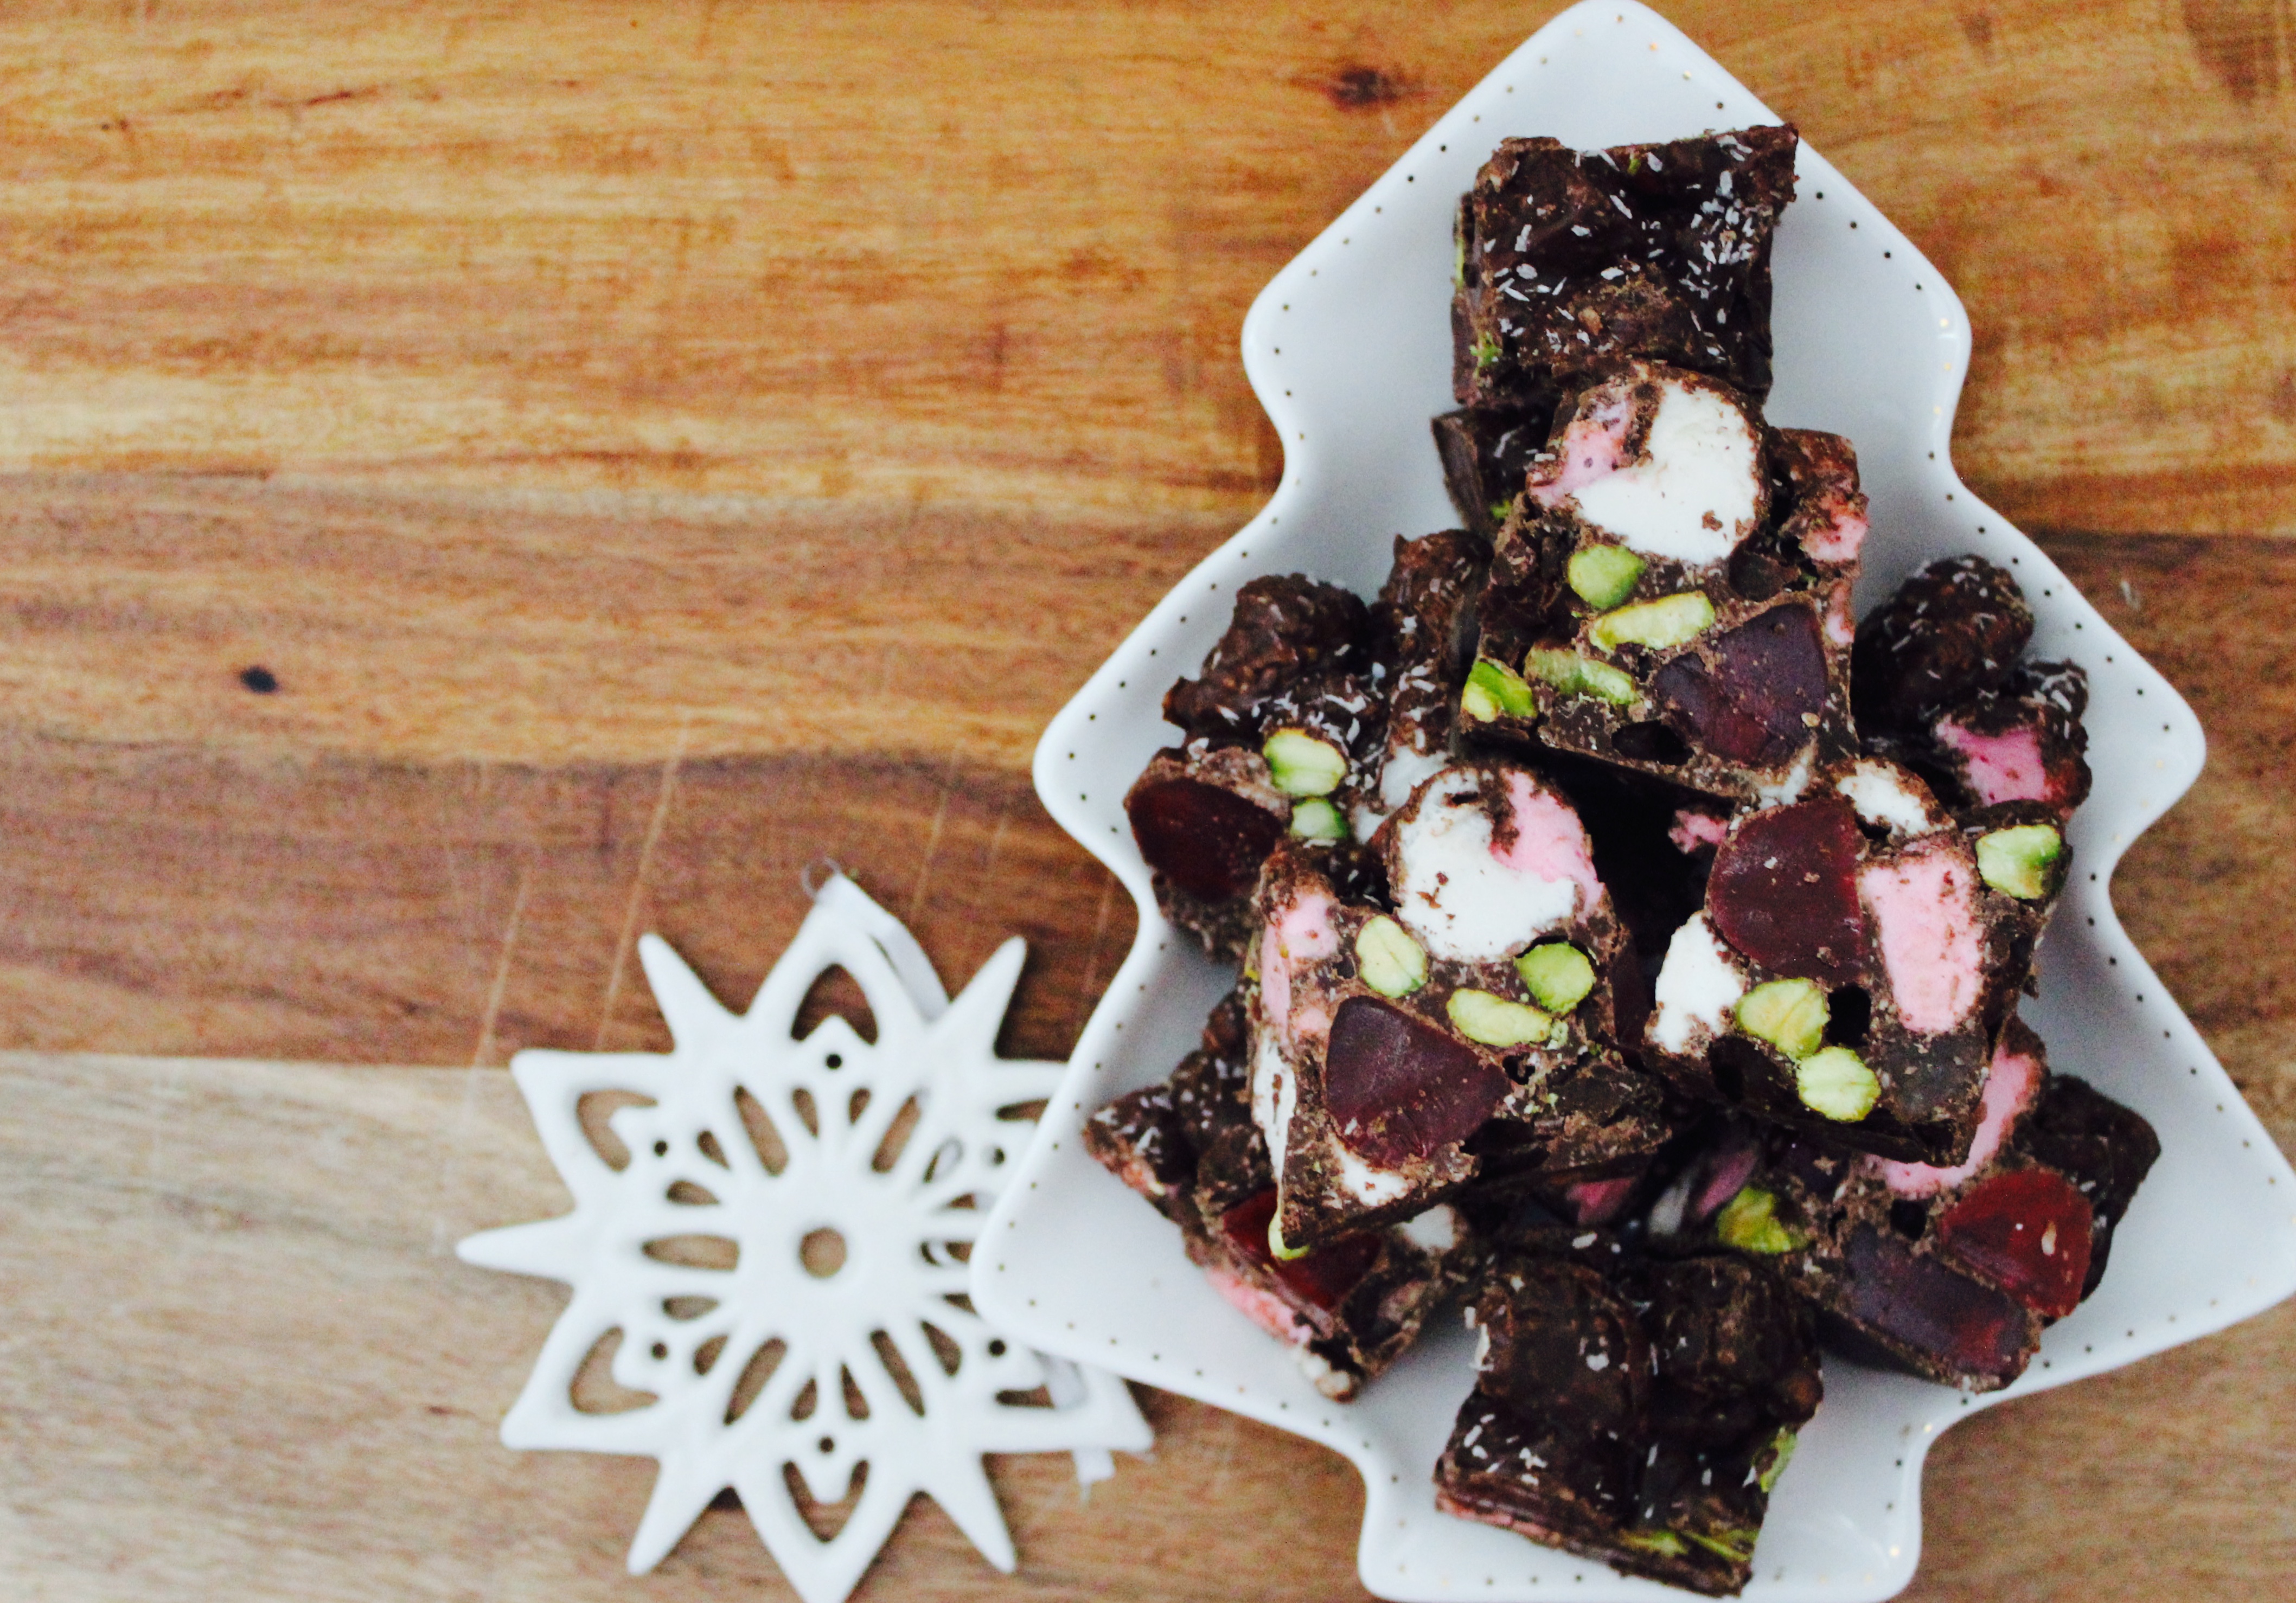
So to kick off a month of Celebrating, today I share with you a very simple recipe that says ‘Christmas’ in our house. 

On a night close to Christmas Day, we bundle the boys in the car in their PJ’s after dinner. With a tin of rocky road on my lap, Christmas carols playing and my husband at the wheel, we drive our surrounding suburbs with the windows down in search of the best Christmas lights. The boys look forward to this night so much, I am not sure if it’s the thrill of being out in their PJ’s at night or the rocky road that they love the most. 

Each week till Christmas I will share my favourite celebrating recipes. Simple ideas perfect for giving away as gifts or sharing with family and friends at this time of year. Most of them will be yummy, fun and not overly healthy. But then that’s what celebrations are for right? 

Rocky Road
Yields 40
Write a review
Print
Prep Time
15 min
Prep Time
15 min
Ingredients
  1. 200 grams dark eating chocolate, chopped
  2. 200 grams milk eating chocolate, chopped
  3. 2 x 180 gram packets pink and white marshmellows, chopped in half
  4. 2 x 180 gram packets red raspberry lollies
  5. 1/2 cup desiccated coconut
  6. 150 grams real turkish delight, chopped
  7. 90 grams pistachio nuts, shelled
Instructions
  1. Mix all ingredients except chocolate, in a large bowl.
  2. Place both chocolates in a heat proof bowl and melt for 1 minute on HIGH in the microwave.
  3. Remove, stir and keep heating in 30 second increments on HALF power, stirring in between, until melted.
  4. Pour melted chocolate over ingredients and mix thoroughly.
  5. Press into a lined square or rectangular tin.
  6. Refrigerate until set.
  7. Cut into small pieces and store in the fridge in an airtight container.
Notes
  1. Use your favourite eating chocolate to make a yummy Rocky Road, this is no place for 'cooking chocolate'.
cook fast eat slow https://www.cookfasteatslow.com/