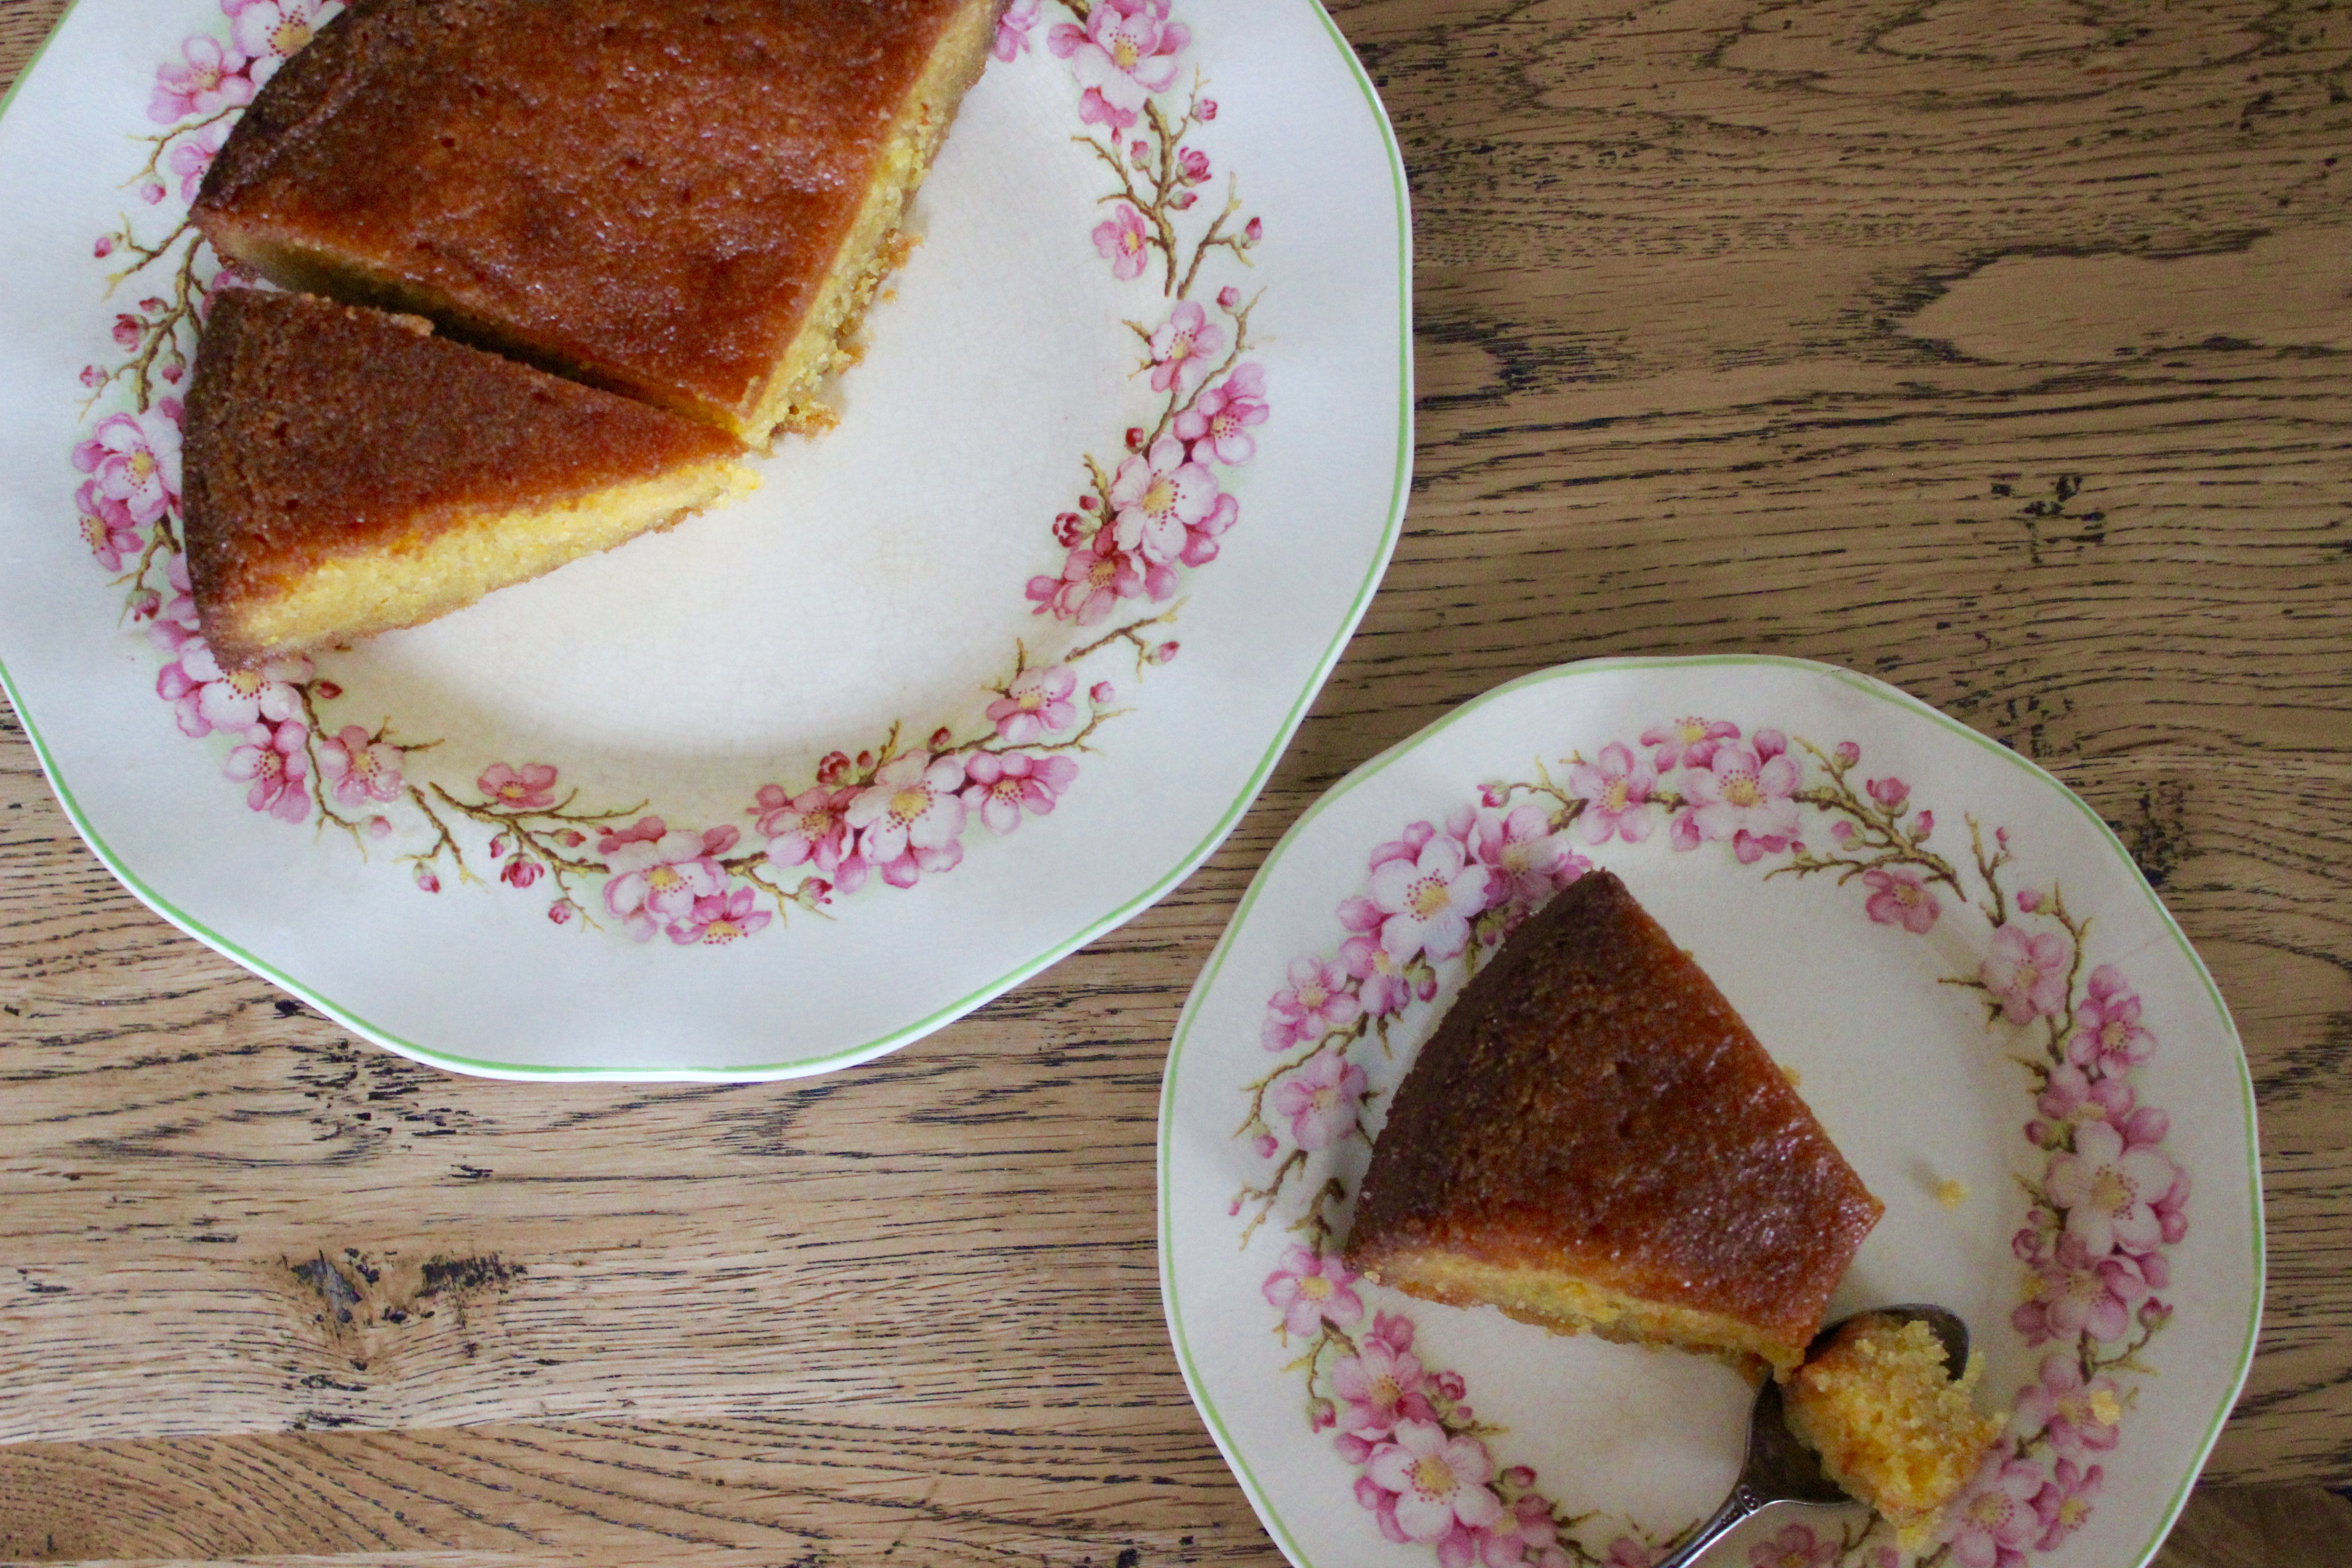
Lemon Polenta Cake (gluten free)

There are days when I want to wake early, do a 5km power walk, enjoy a healthy breakfast, drink loads of water and eat bowls of leafy greens for lunch and dinner.

And then there are days when I want to stay in my PJ’s, bake this Lemon Polenta Cake, invite a friend over and sit on the lounge watching the classic foodie movie ‘Julie and Julia.’

I keep trying to compile a list of my all time favourite cakes. The list changes from time to time as my tastes change, but always, always, always, a sticky, moist lemony cake of some kind is right near the top.

One of the things I love about this cake is that she is not at all fancy to look at – no-one is going to ooh and ahh when they see it sitting on the bench. But what it lacks in beauty, it more than makes up for in taste. I would choose a yummy cake over a good looking cake any day of the week.

This recipe is a Nigella Lawson classic. I love what she says about it – “If you wanted to imagine what lemon curd would taste like in cake form, then this would be it.”

I totally agree.

Ingredients

200gm unsalted butter, softened

200gm castor sugar

200gm almond meal

100gm polenta (cornmeal)

1 1/2 teaspoons baking powder

3 eggs

Zest of 2 lemons

Syrup

Juice of 2 lemons

125gm icing sugar

Method

Line the base of 23cm springform cake tin with baking paper, and lightly grease the sides of the tin with butter.

Preheat oven to 180 degrees celsius (160 degrees fan forced).

Beat the butter and sugar with electric beaters until pale and creamy.

Mix together the almond meal, polenta and baking powder and beat some of this into the butter mixture, followed by 1 egg, then alternate dry ingredients and eggs, beating continuously until it’s all combined.

Beat in the lemon zest.

Spoon the mixture into the prepared tin and bake in the oven for 40 minutes, or until golden on top and a cake tester comes out clean.

Leave in it’s tin to cool, but place the tin on a cooling rack.

To make the syrup, place the lemon juice and sugar in a small saucepan and bring to the boil over a medium heat. Boil until the sugar is dissolved and the syrup seems a little thicker.

Prick the cake all over with a cake tester and pour the syrup over the still warm cake.

Leave to cool in it’s tin.

This cake, if not eaten all at once, will last for 2-3 days in an airtight container in the fridge. Gently reheat pieces in a microwave  to freshen slightly.

IMG_6830


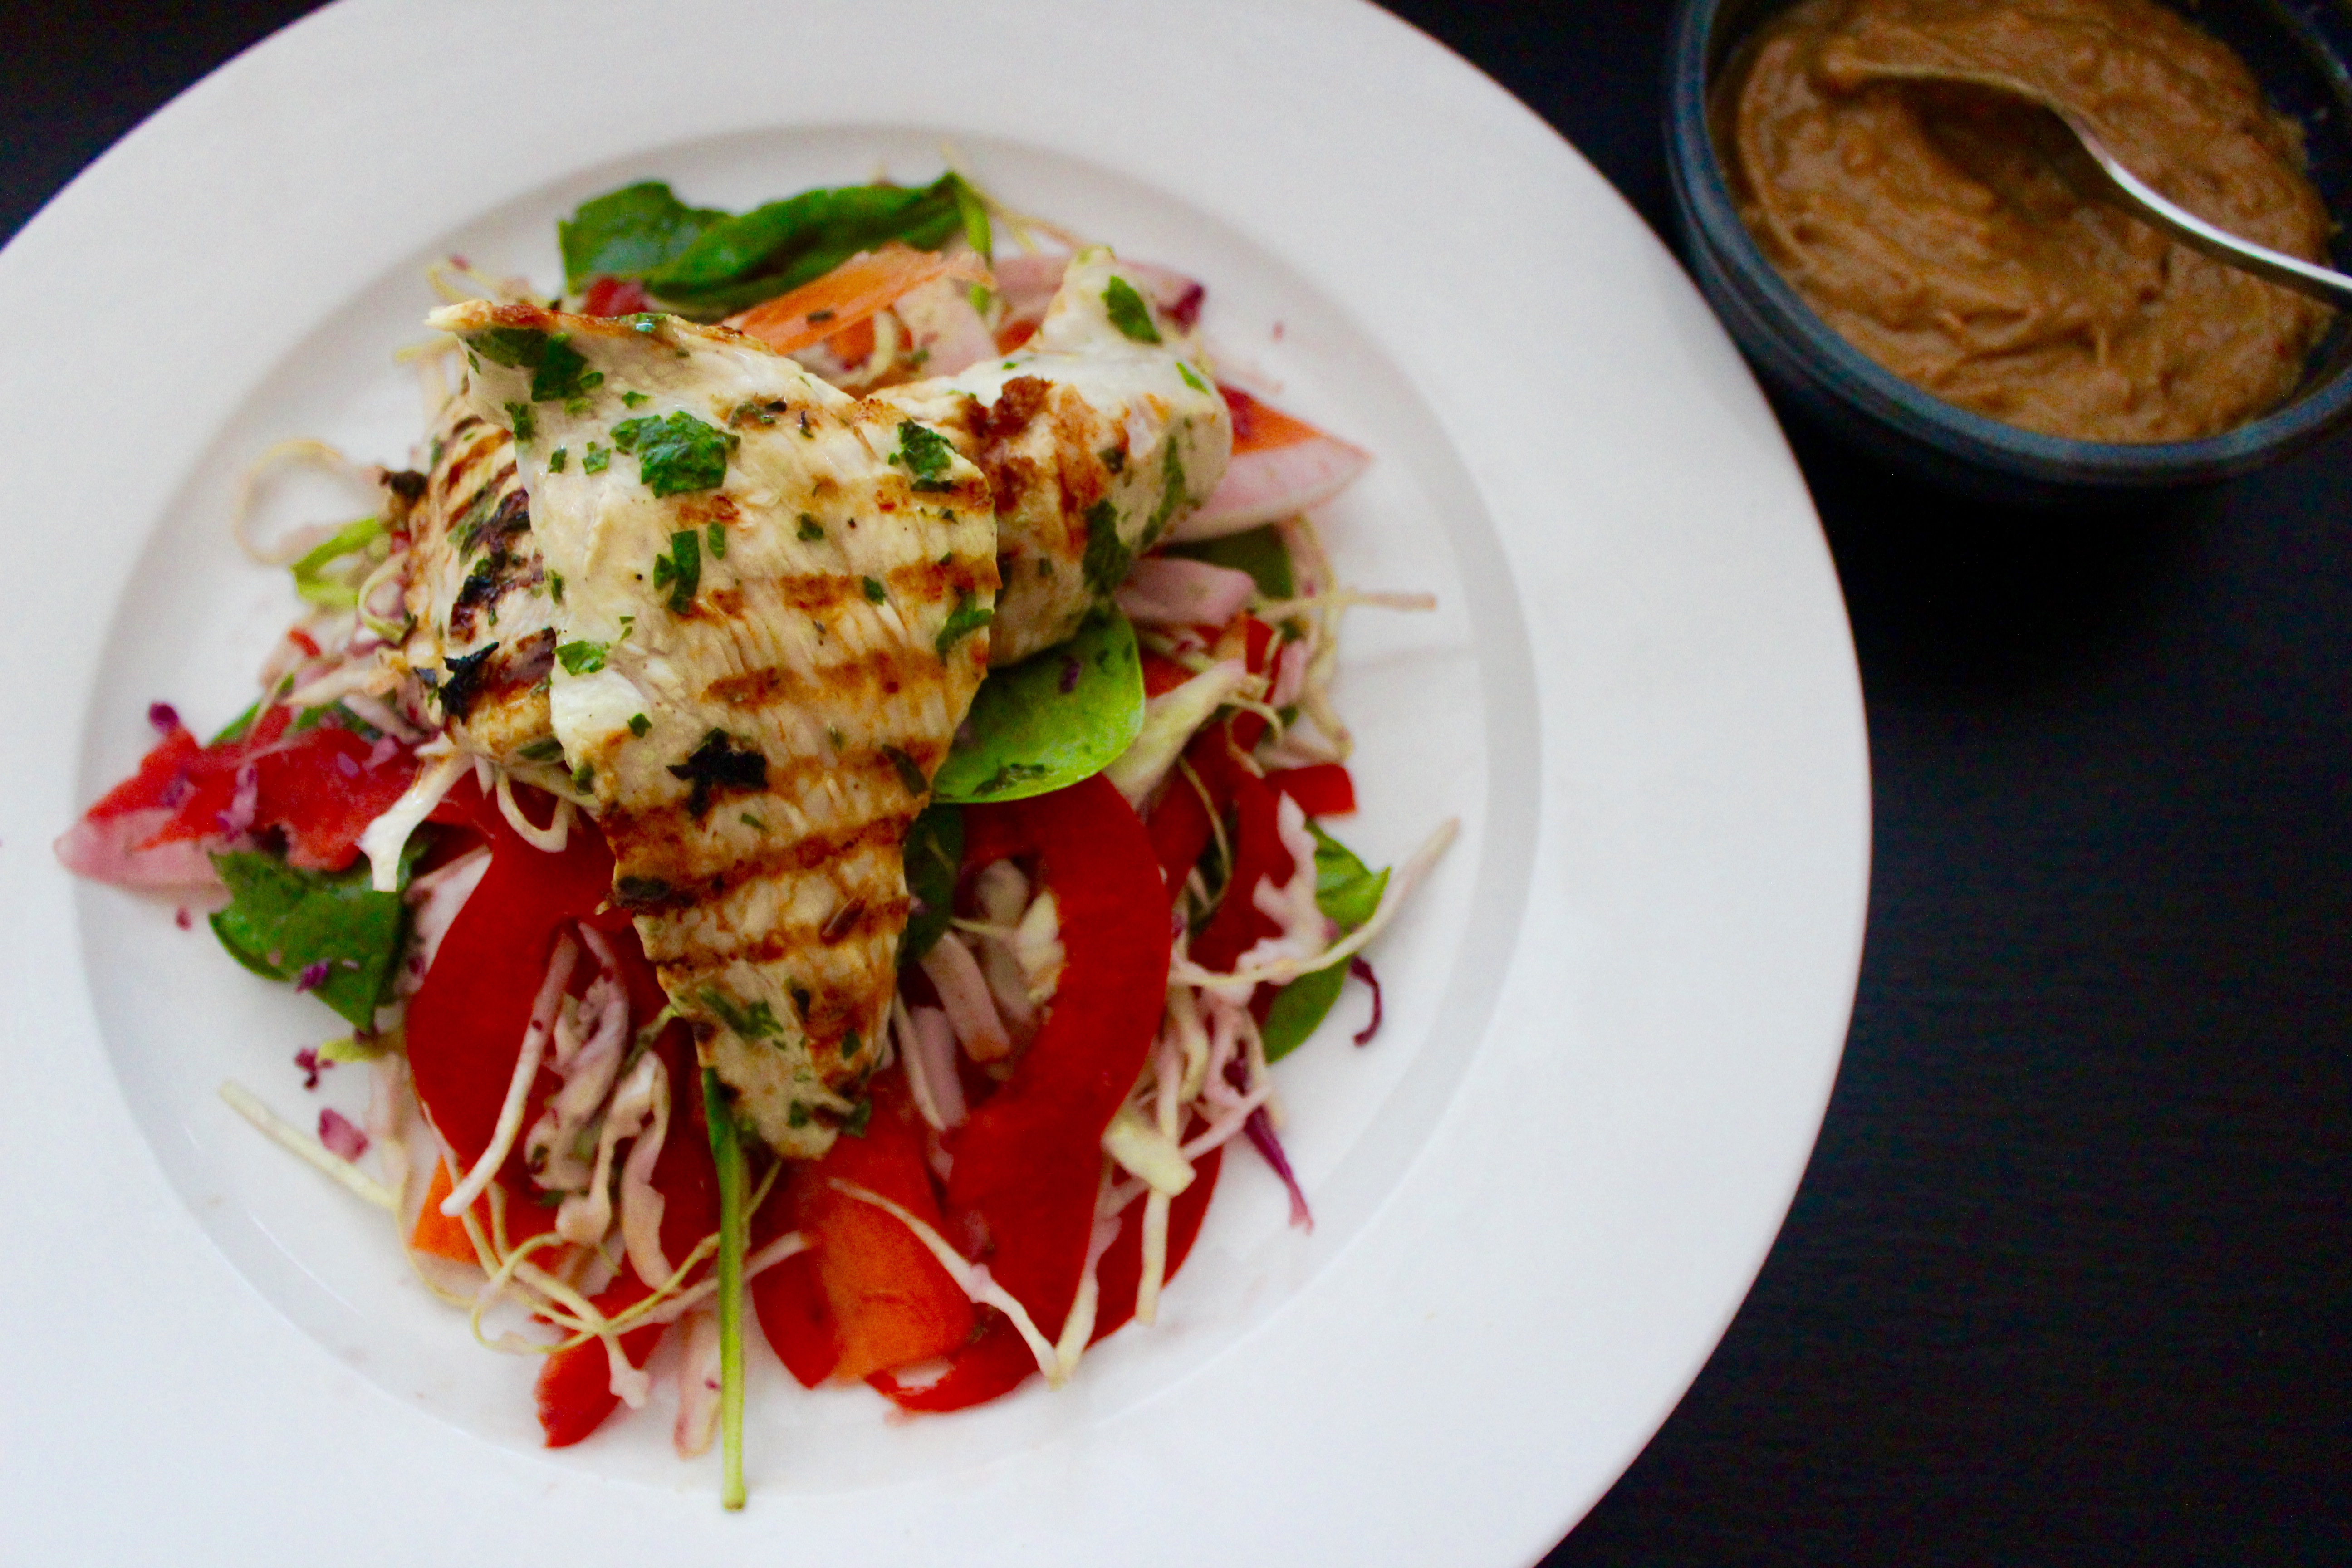
Lemon Coriander Chicken & Rainbow Salad (with a simple satay sauce)

The secret to eating well in the warmer months of the year is to keep a large variety of fresh produce on hand. A salad of any kind can be thrown together without too much forward thinking if your fridge is well stocked with protein and fresh seasonal veggies.

This Rainbow Salad was put together on a night where I was fossicking through the fridge, knowing we were going to have some kind of salad and meat combo for dinner, but not exactly sure what that was going to be.

It ended up being a real hit with the kids and was given a 9/10… yes… my boys are my harshest critics and often rate my dinner out of 10!  Obviously anything under a 5 never makes it to the blog.. LOL!

I think the reason it was loved in our house, is because it was ‘crunchy’ and not soaked in mayo as most salads like this often are.

Topping it with some grilled chicken breast that had been marinated in lemon juice and finely chopped coriander worked really well. But feel free to use any herb you have on hand or leave  out completely if you are pressed for time.

The hardest part of this dinner is the chopping. If you have a mandolin or a food processor, feel free to use those to chop the veggies, they’ll help you get them extra fine. Changing the way you present a food can sometimes encourage fussy eaters to give them a go.

Feel free to chop and change ingredients based on what your family loves. That’s the beauty of salads. Leave out the fennel and add cucumber, leave out the carrots and add celery…..whatever works for you and will get your kids eating some fresh veggies!

Rainbow Salad

IMG_7047


Serves a family of 5

Ingredients

2 Carrots, peeled and finely chopped or peeled into ribbons

1/4 purple cabbage, finely sliced

1/4 white cabbage, finely sliced

1/2 a small fennel bulb, white part finely sliced

1 red capsicum, seeds removed and finely sliced

a few handfuls of baby spinach leaves

Dressing

2 tablespoons apple cider vinegar

2 tablespoons lemon infused olive oil (or a mix of lemon juice and olive oil)

Salt and Pepper to taste

Method

Combine all vegetables in a large bowl and pour dressing over.

(If possible, leave to sit for a little while before you serve it. The vinegar will help soften the vegetables a little and give it a nice flavour).

Lemon & Coriander Chicken

IMG_7073


Serves a family of 4-5

Ingredients

2 chicken breasts, cut in half horizontally, to make it thinner, and then cut into smaller portions again (this just makes the cooking time a little quicker)

juice of 1 lemon

2 tablespoons olive oil

1/2 bunch of coriander, finely chopped

Method

Combine all the ingredients and set aside for as long as you have to marinate. (The acid in the lemon juice will start to ‘cook’ the chicken slightly, so you will notice it start to change colour from pink to white.)

Heat a skillet pan or BBQ over a high heat, add chicken, lower heat to medium and cook on both sides until cooked through.

Place on top of the salad and serve with the satay dipping sauce if desired.

Simple Satay Sauce

IMG_7064


This is a very ‘kid friendly’ satay sauce and not spicy at all. If you would like to have extra heat, just add some dried chilli flakes or finely chopped fresh chilli.

Ingredients

1 clove garlic, crushed

1 teaspoon of fresh ginger, finely grated or 1 teaspoon fresh ginger paste

1 teaspoon sesame oil or peanut oil

1 teaspoon curry powder

2 teaspoons soy sauce

2 tablespoons peanut butter

3/4 cup coconut milk

Method

Gently heat oil in a small saucepan and add the garlic and ginger.

Fry for a minute and then add all other ingredients.

Stir gently over a medium heat until combined.

Serve alongside the chicken and salad.

It will keep for a month in an airtight container in the fridge and also freezes well.

Lessons From My Kitchen Floor

I remember like it was yesterday the day I collapsed on my kitchen floor and couldn’t get up.

It’s almost 9 years ago.

We had just moved house, my husband had decided to quit his very stable and well paid job and start afresh in a new career that paid nothing for at least the first 6 months. My 3 yr old was struggling with constant respiratory illness and my 6 month old baby had came out of the womb pale, small and screaming, and 6 months on, was still pale, small and screaming.

I think I should have known something wasn’t quite right a few weeks before this, when I had calmly placed my screaming baby in his cot, shut the door and started walking to my girlfriends house, in my pyjamas. Or maybe I should have seen a warning sign, when I started wearing baseball caps to the local shops to buy the milk, absolutely terrified of bumping into anyone I knew.

The day I collapsed on my kitchen floor was the first time my body had physically given way on me. I remember much later on my mum saying in her wisdom “unless God took your legs out from under you Em, you would never have stopped. You needed to physically stop, before you could start to get better.”

So, there I was. Lying on the kitchen floor. My 3 yr old brought me my phone and I managed to call a beautiful girlfriend who had known me since I was a little girl – “I am on the kitchen floor and I can’t get up” I whispered.

I think from memory she arrived 40 minutes later from her house near the city.

And there it began.

I remember thinking ‘this is what it feels like to fail at life.’ I had gone from being an over-achieving wife and mother, highly capable of running her home, involved in ministry at church, caring for friends and family, to sitting in a chair, staring out the window and incapable of feeling or doing anything.

I lost the ability to speak on the phone, entertain visitors, reply to emails, go to church or the shops or even read my bible or a book.

It was the beginning of Autumn. My favourite chair was placed near a window where I could see the trees changing, and that is where I stayed, for close to 4 months.

My beautiful GP, with tears in her eyes diagnosed me. “You are exhausted Em. Burnt out. Empty. And it’s okay. You will get better. But for now, you need to step back from everything and just rest. Be still.”

I prayed a pretty desperate prayer to God in the early days. I begged him for the ability each new morning to be able to do that which had to be done for that day for my family. Nothing more.

I went from being an OCD control freak who loved planning things in advance and ticking off my to do list, to begging God at breakfast for just enough strength to make it to dinner.

And God in his beautiful faithfulness, each day, did just that. In the first months, I actually would get to bedtime and not be able to tell you much about what had gone on in the day. I was so numb. But my boys were alive, and so was I, so we had done okay.

The hero of this story was my Heavenly Father, who proved his faithfulness in my time of emptiness. I am a ‘doer’ and all of a sudden I could do nothing or offer nothing to him or anyone else it seemed. I remember having a sense that it was okay, for the first time in my life, to just be.

It’s funny what happens when we take away all of the noise and business and life gets stripped back to basics.

God’s gifts to me during that time were the autumn trees, praise and worship music and an audio devotional a girlfriend made me, after I realised I was too sick to even concentrate on reading my bible.

He also cared for me through my mum and mother in law, who came in and quietly cared for me and the boys while I sat in my chair. Not every day, but often enough to help us get by.

A handful of close friends would visit in small doses and sit with me, not saying much, but just being there.

And I remember feeling a little surprised and over-whelmed that my husband still loved me so much when I could do nothing for him and offer nothing to him. He was so patient during that time. He never placed a time line or expectation on me to get better. It felt like unconditional love.

Over time, I slowly started to heal. My sick screaming baby didn’t actually get better at this point, and we still searched for answers as to why he was so unwell, but because I stripped everything else away, I was able to deal with that situation a little better.

Time and sitting still was working. I couldn’t believe it.

After 4 months I was able to slowly re-enter life again. It was a scary thought at first. To begin with I would make short errands to the local shops, still with my cap on and be so proud of myself when I made it back in one piece.

There were many things that I used to do or be involved in, that I would never actually get back to. That was okay. Times like these are often a pruning. As God had proved himself faithful in my brokenness, he was also faithful as he slowly enabled me to start living more fully again.

What I didn’t know then, was that 5 years later, I would walk an even harder journey with our third son. But this time the journey didn’t break me. The lessons I had learnt in stillness, resting, trusting God to carry me and my family, came back to me with great clarity and I remember thinking ‘this is why we went through that. He was preparing me for an even bigger journey. But this time I dealt with it differently.

So, 9 years on from those life changing events, I still need to stop sometimes and remember….

I am not what I can DO. I am His beloved daughter, regardless of what I am or am not achieving in the worlds eyes.

I need to consciously push back the noise and business sometimes and re-learn the discipline of ‘being still’. This doesn’t come naturally to me, but it’s often only in the stillness that I really hear what he’s trying to teach me, learn and grow.

It’s constanty re-learning the He has made us all different. What one woman’s capacity for life is, will be different to another and that’s okay. As women we need to stop thinking ‘I don’t know how she does it’ and instead celebrate our differences. None of us really know each others intimate journey, her internal battles, her home life. Of course most of us only see everyone’s ‘coping’ moments.

He let my legs collapse out from under me that afternoon in my kitchen. I couldn’t stand if I had tried. Gently, but not without pain, He lifted me up, gave me rest, refocused my heart and mind and taught me to depend on Him again and not on my own strength.

I look back thankful for that time and try to keep making space in my life to not forget those important lessons.

 

Spring Vegetable Frittata (vegetarian)

I am breaking one of my rules in posting this recipe.

I’ve said from the beginning of cook fast eat slow that I would only post recipes that passed the ultimate test – “will my 3 boys eat it?”

Everything on the blog so far has passed that test.

Until now.

I’ve vacillated for a few days now as to whether to post this recipe, as my kids didn’t like it. Sadly, they are not all egg fans, ie. scrambled, poached, boiled, omelette – they just don’t like dishes where egg is the main event.

For me, it’s quite annoying, as eggs are an amazing food and make a great nutritious, cheap and easy base for a great meal.

So, back to Frittata’s….

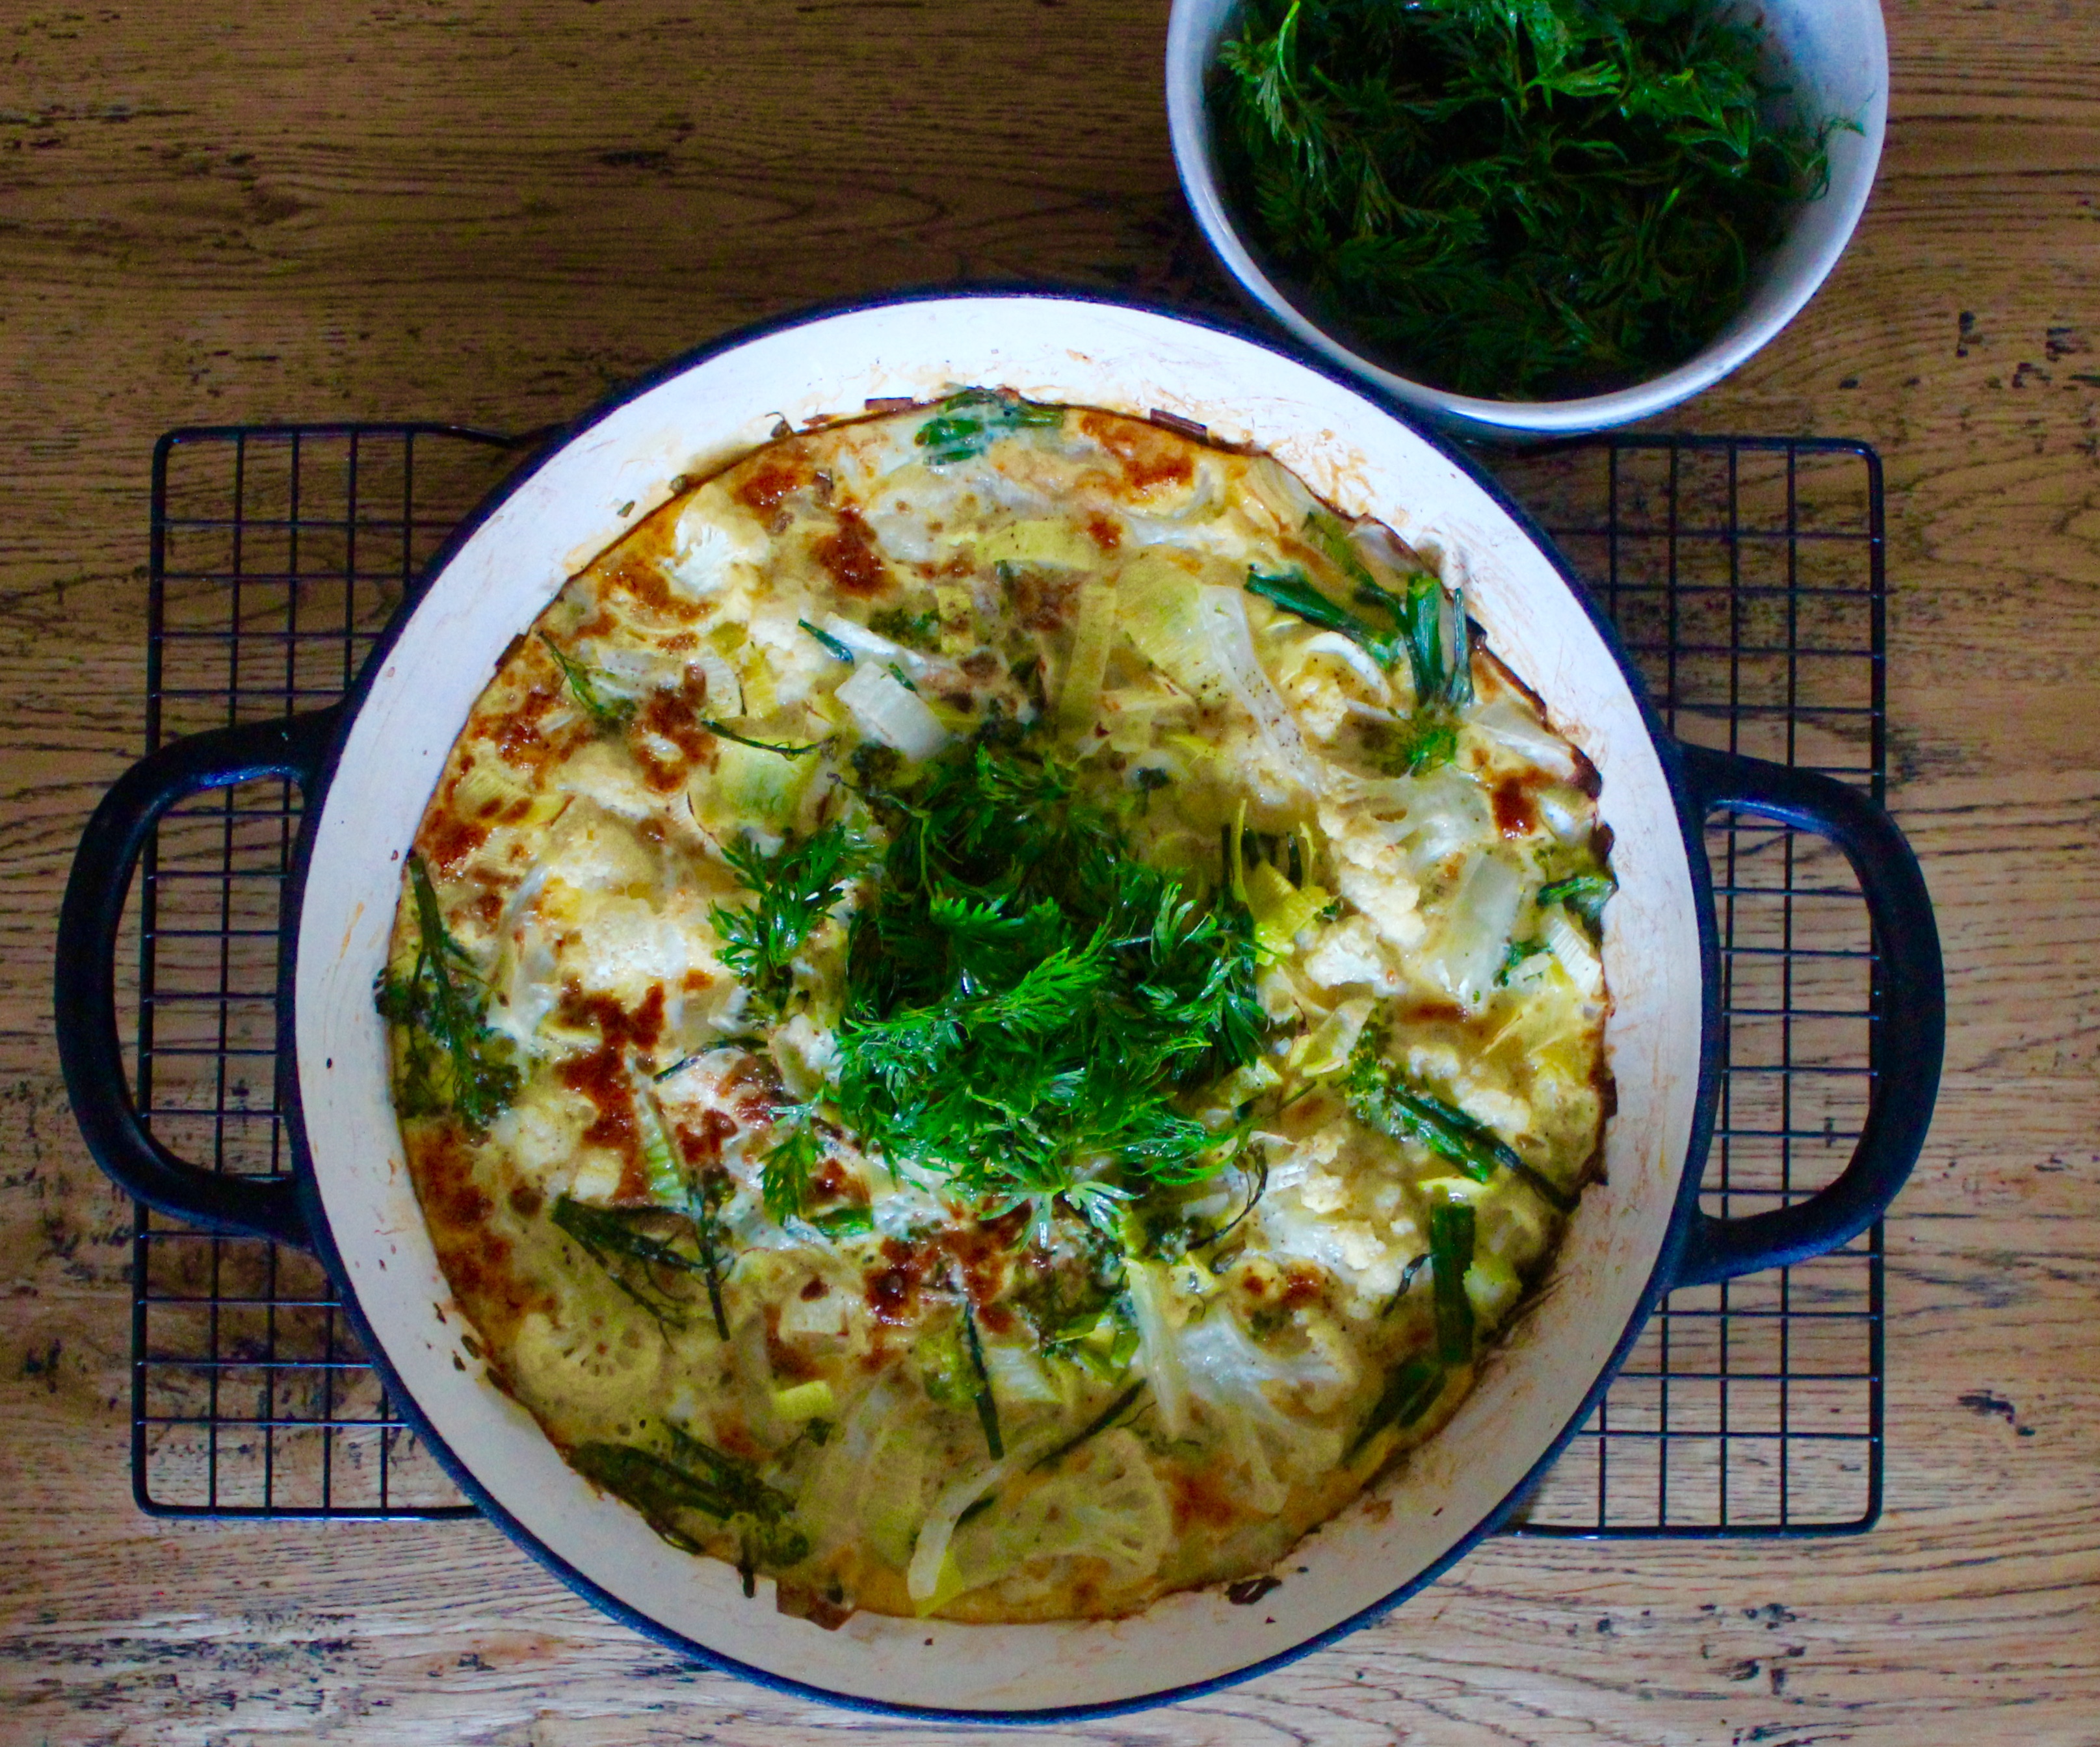
A frittata is commonly known as an ‘open-faced omelette’ or a ‘crustless quiche’ and is a wonderful way of using up whatever you have on hand, vegetables or meats or a mixture of both.

My husband and I love them. Whether for a quick nutritious dinner, or an easy lunch, whether it’s warm or room temp, or from the fridge as leftovers, you just can’t go wrong.

So, even though my kids won’t eat a frittata, I am hoping yours might? Or even if yours don’t, you can add this to your menu for your mid-week lunch inspiration. It will keep for a few days covered in the fridge, so that means a high protein and nutrient-rich meal is waiting for you in the fridge each day that requires no prep. A winner all round!

The wonderful thing is you can make it as you like it. If you hate fennel and love peas, then leave out the fennel and add 1/2 cup frozen peas. If your kids love spinach but don’t like broccolini, swap them. Add bacon for flavour, throw in leftover cooked chicken. Use feta or goats cheese, add handfuls of fresh herbs, scatter with tomatoes….basically, the options are endless!

Or, if you are nervous and this is your first try, just follow the steps below and see how you go.

Ingredients

olive oil

1 cup of cauliflower florets, chopped roughly

1 bunch of broccilini, stems and tops, chopped roughly

1 leek, white part only, washed and finely sliced

1/4 fennel bulb, thinly sliced

6 eggs

1/2 cup milk

salt and pepper to taste

3-4 tablespoons grated fresh parmesan

Method

Heat the olive oil in a medium frying pan or shallow cast-iron casserole dish.

Add all of the chopped veggies, stir and sauté for a few minutes and then reduce the heat to low, place the lid on, and gently cook for a few minutes till the veggies are a little softer.

IMG_7021

Whisk together the eggs, milk and some salt and pepper in a jug.

Remove the lid from the vegetables, and pour the egg mixture over them. Give the pan a quick shake to evenly distribute the egg through the veggies.

Place the lid back on the pan and cook for a few minutes till almost set.

Grate the parmesan over the top of the frittata and then remove from the heat, place under a hot grill and grill till golden brown and the cheese is melted.

Serve warm or at room temperature with a side salad and fresh bread if desired.

IMG_7022These are the leaves   from a bunch of baby carrots, they are edible, so don’t throw them out. Just wash them and dress them with olive oil, balsamic vinegar and lemon juice and use them as a simple salad or garnish.


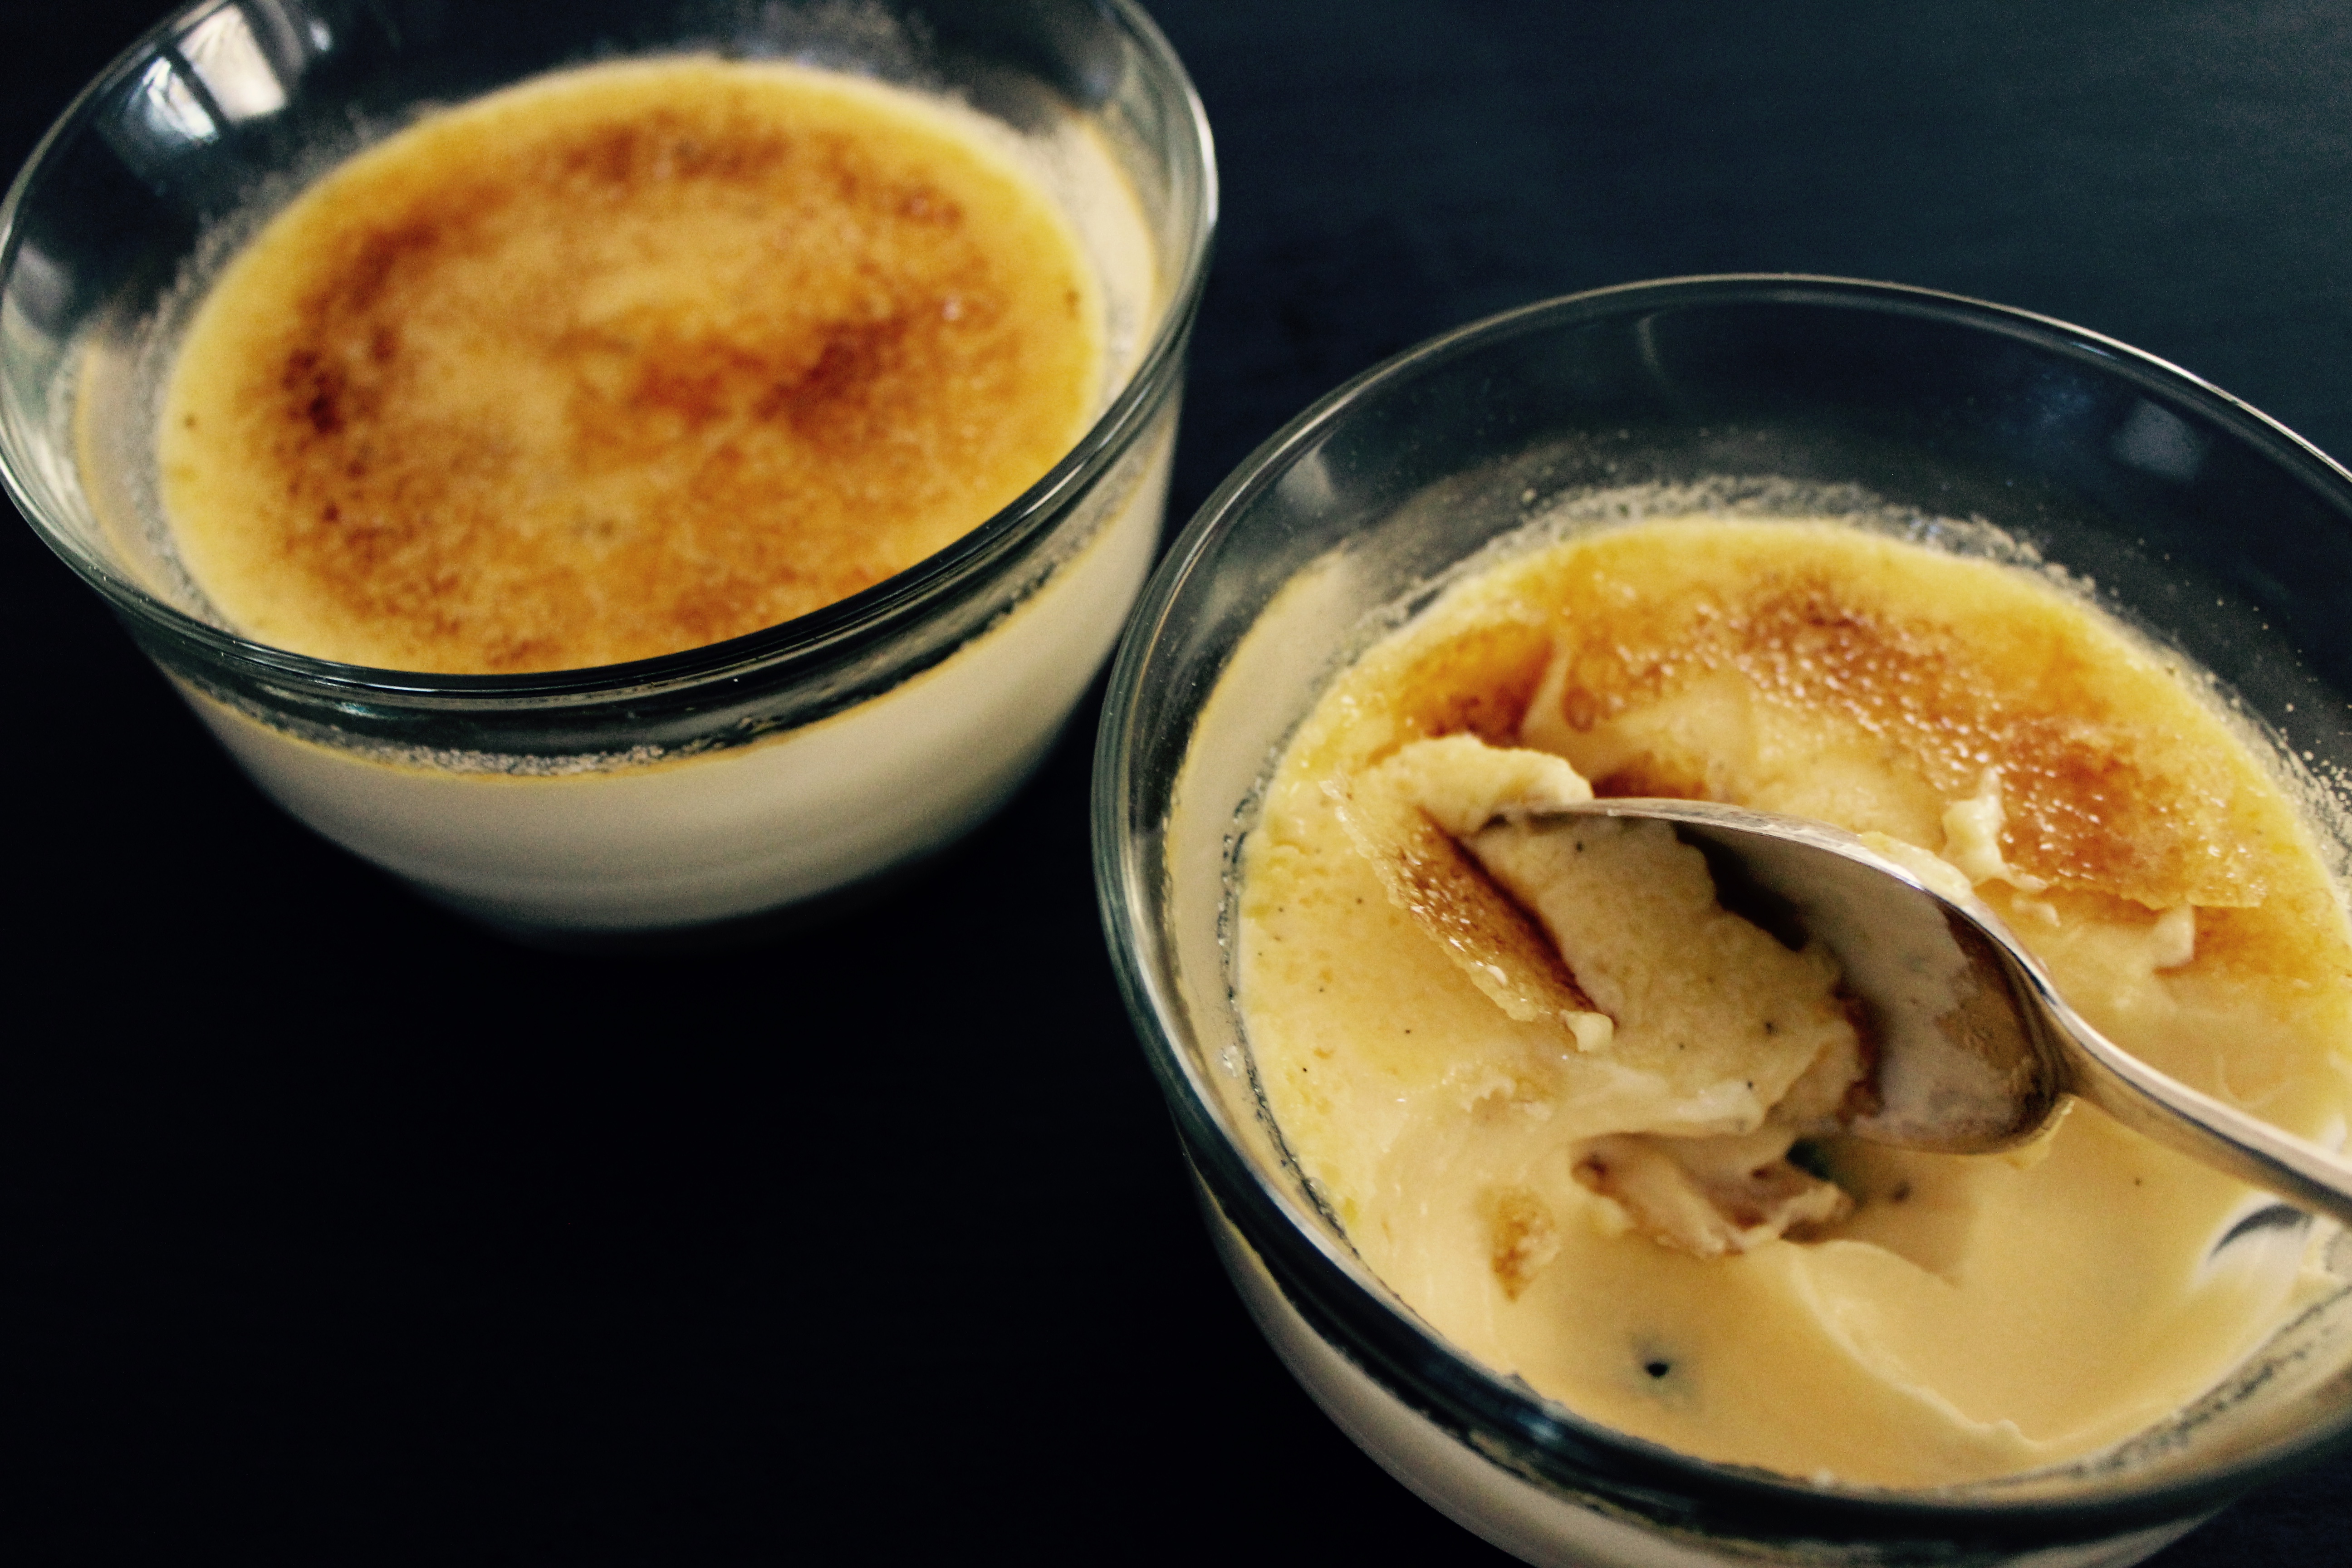
Creme Brûlée

We’ve had a rocky journey together, Creme Brûlée and I.

After noticing early on in our married years that this was the dessert my husband always ordered when we were out, I was determined to master it at home.

But alas, that sounds easier said than done!

I have tried many recipes for this divine dessert and many times it has FAILED. I will never forget the New Years Eve gathering where I had boldly stated I was bringing Creme Brûlée for all of our friends, only to pull the tray out of the fridge as we were leaving and the un-set custards pouring all over the kitchen floor. There may have been tears……and there may have been more tears when my husband said “It’s okay babe, we’ll just swing past Woolies and buy a dessert to take!”  For those of you who know me well…..no more needs to be said.

I don’t give up easily and so after many attempts, I finally came across this incredibly simple recipe from Gary Mehigan’s cookbook, Comfort Food. And I have not changed it one bit. I am way too scared to play with this recipe, it just works so perfectly.

The first time I made it and it worked so well I laughed out loud at myself. See the thing is, I’ve tried many complex brulee recipes that have never set. And then when I read “mix all ingredients together in a bowl and pour into ramekins” I realised that IT DIDN’T HAVE TO BE HARD for it to be a good recipe.

So, get your chef’s torch ready and get set to impress your family and friends with this dessert!

IMG_7002


Using 200ml sized ramekins, this mixture makes 5. If you use larger ramekins, it will serve 4 nicely, but I find this size is a perfect portion without being too much. I double it if I am serving a large crowd.

Ingredients

1 vanilla pod, seeds scraped (don’t be tempted to substitute essence or extract, you’ll be disappointed).

500ml pouring cream

6 egg yolks (freeze your egg whites for later use)

90gm castor sugar (plus a little extra for the topping)

Method

Preheat oven to 140 degrees celsius.

Cut your vanilla bean in half lengthways, and then with a tip of a knife, scrape the seeds out. Place seeds into a mixing bowl. (You can either discard the pod at this stage, or stick it in a sugar bowl or container to give it a vanilla flavour).

Add the cream, egg yolks and sugar and using a hand whisk, whisk until it’s combined.

Pour the mixture evenly into ramekins.

Place the ramekins in a large roasting dish and fill the roasting dish with boiling water (this is called a bain marie), so the water comes halfway up the sides of the ramekins. *It’s easiest to place your tin on the shelf in the oven, and then fill it with the boiling water from a kettle, then gently push the oven shelf in, so that the water doesn’t spill everywhere.

Bake for 45 minutes or until just set with a slight wobble in the centre.

Put in the fridge until needed.

Just before you are ready to serve, sprinkle each custard with 1/2 tablespoon of castor sugar, and using a chef’s torch, caramelise the sugar.

IMG_6996